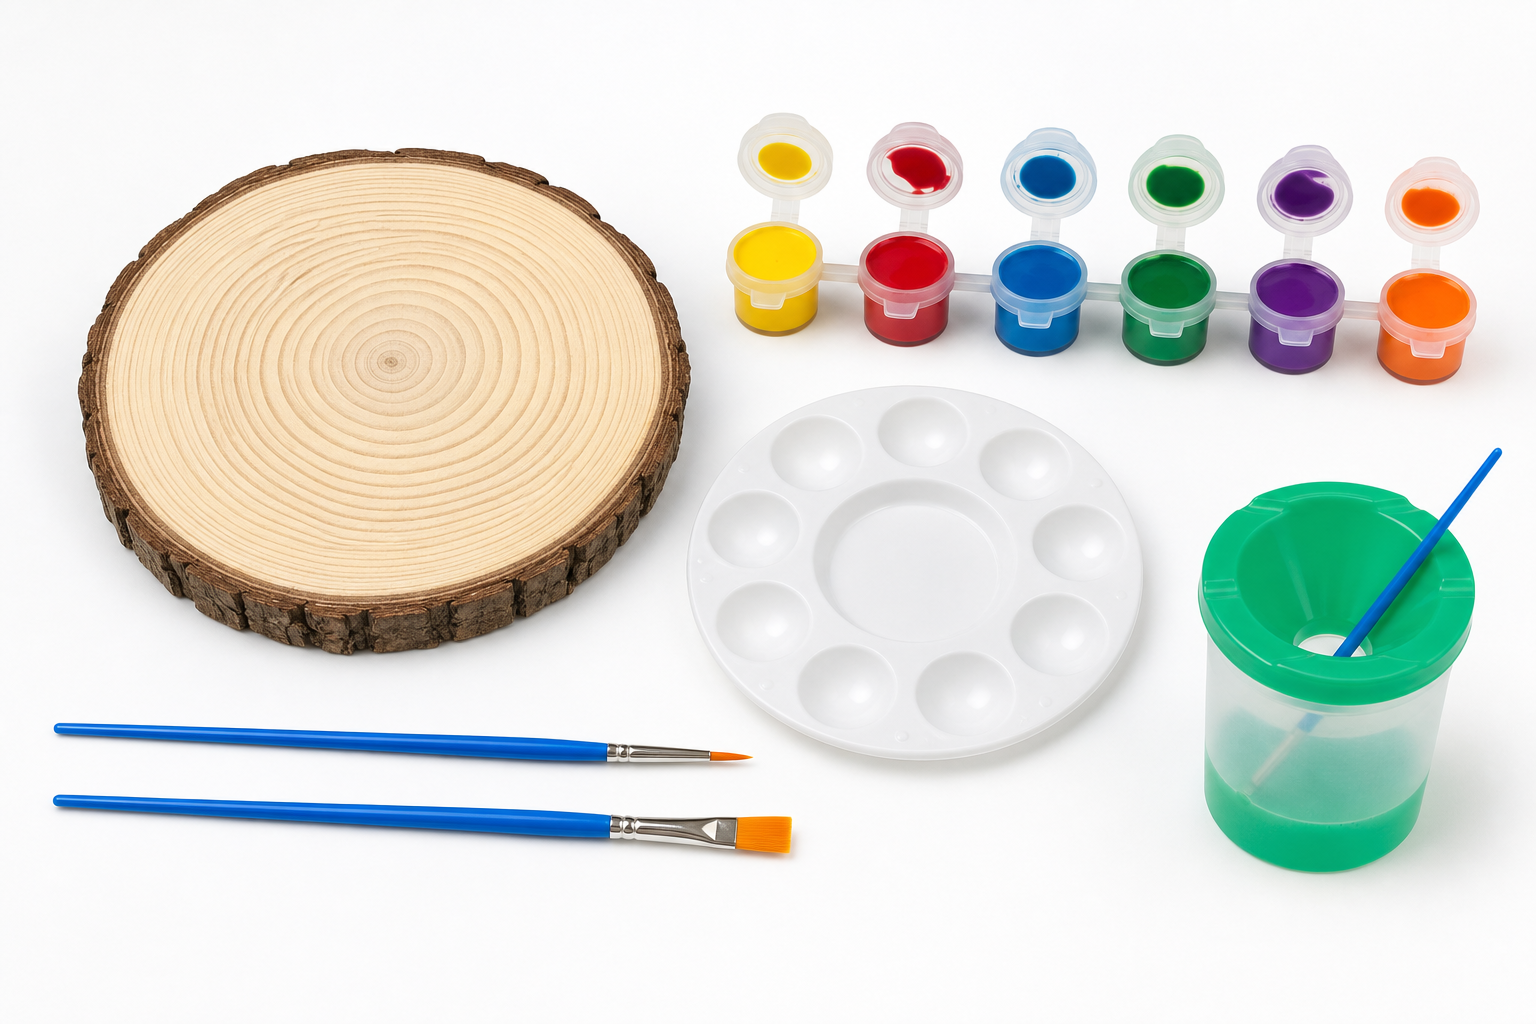
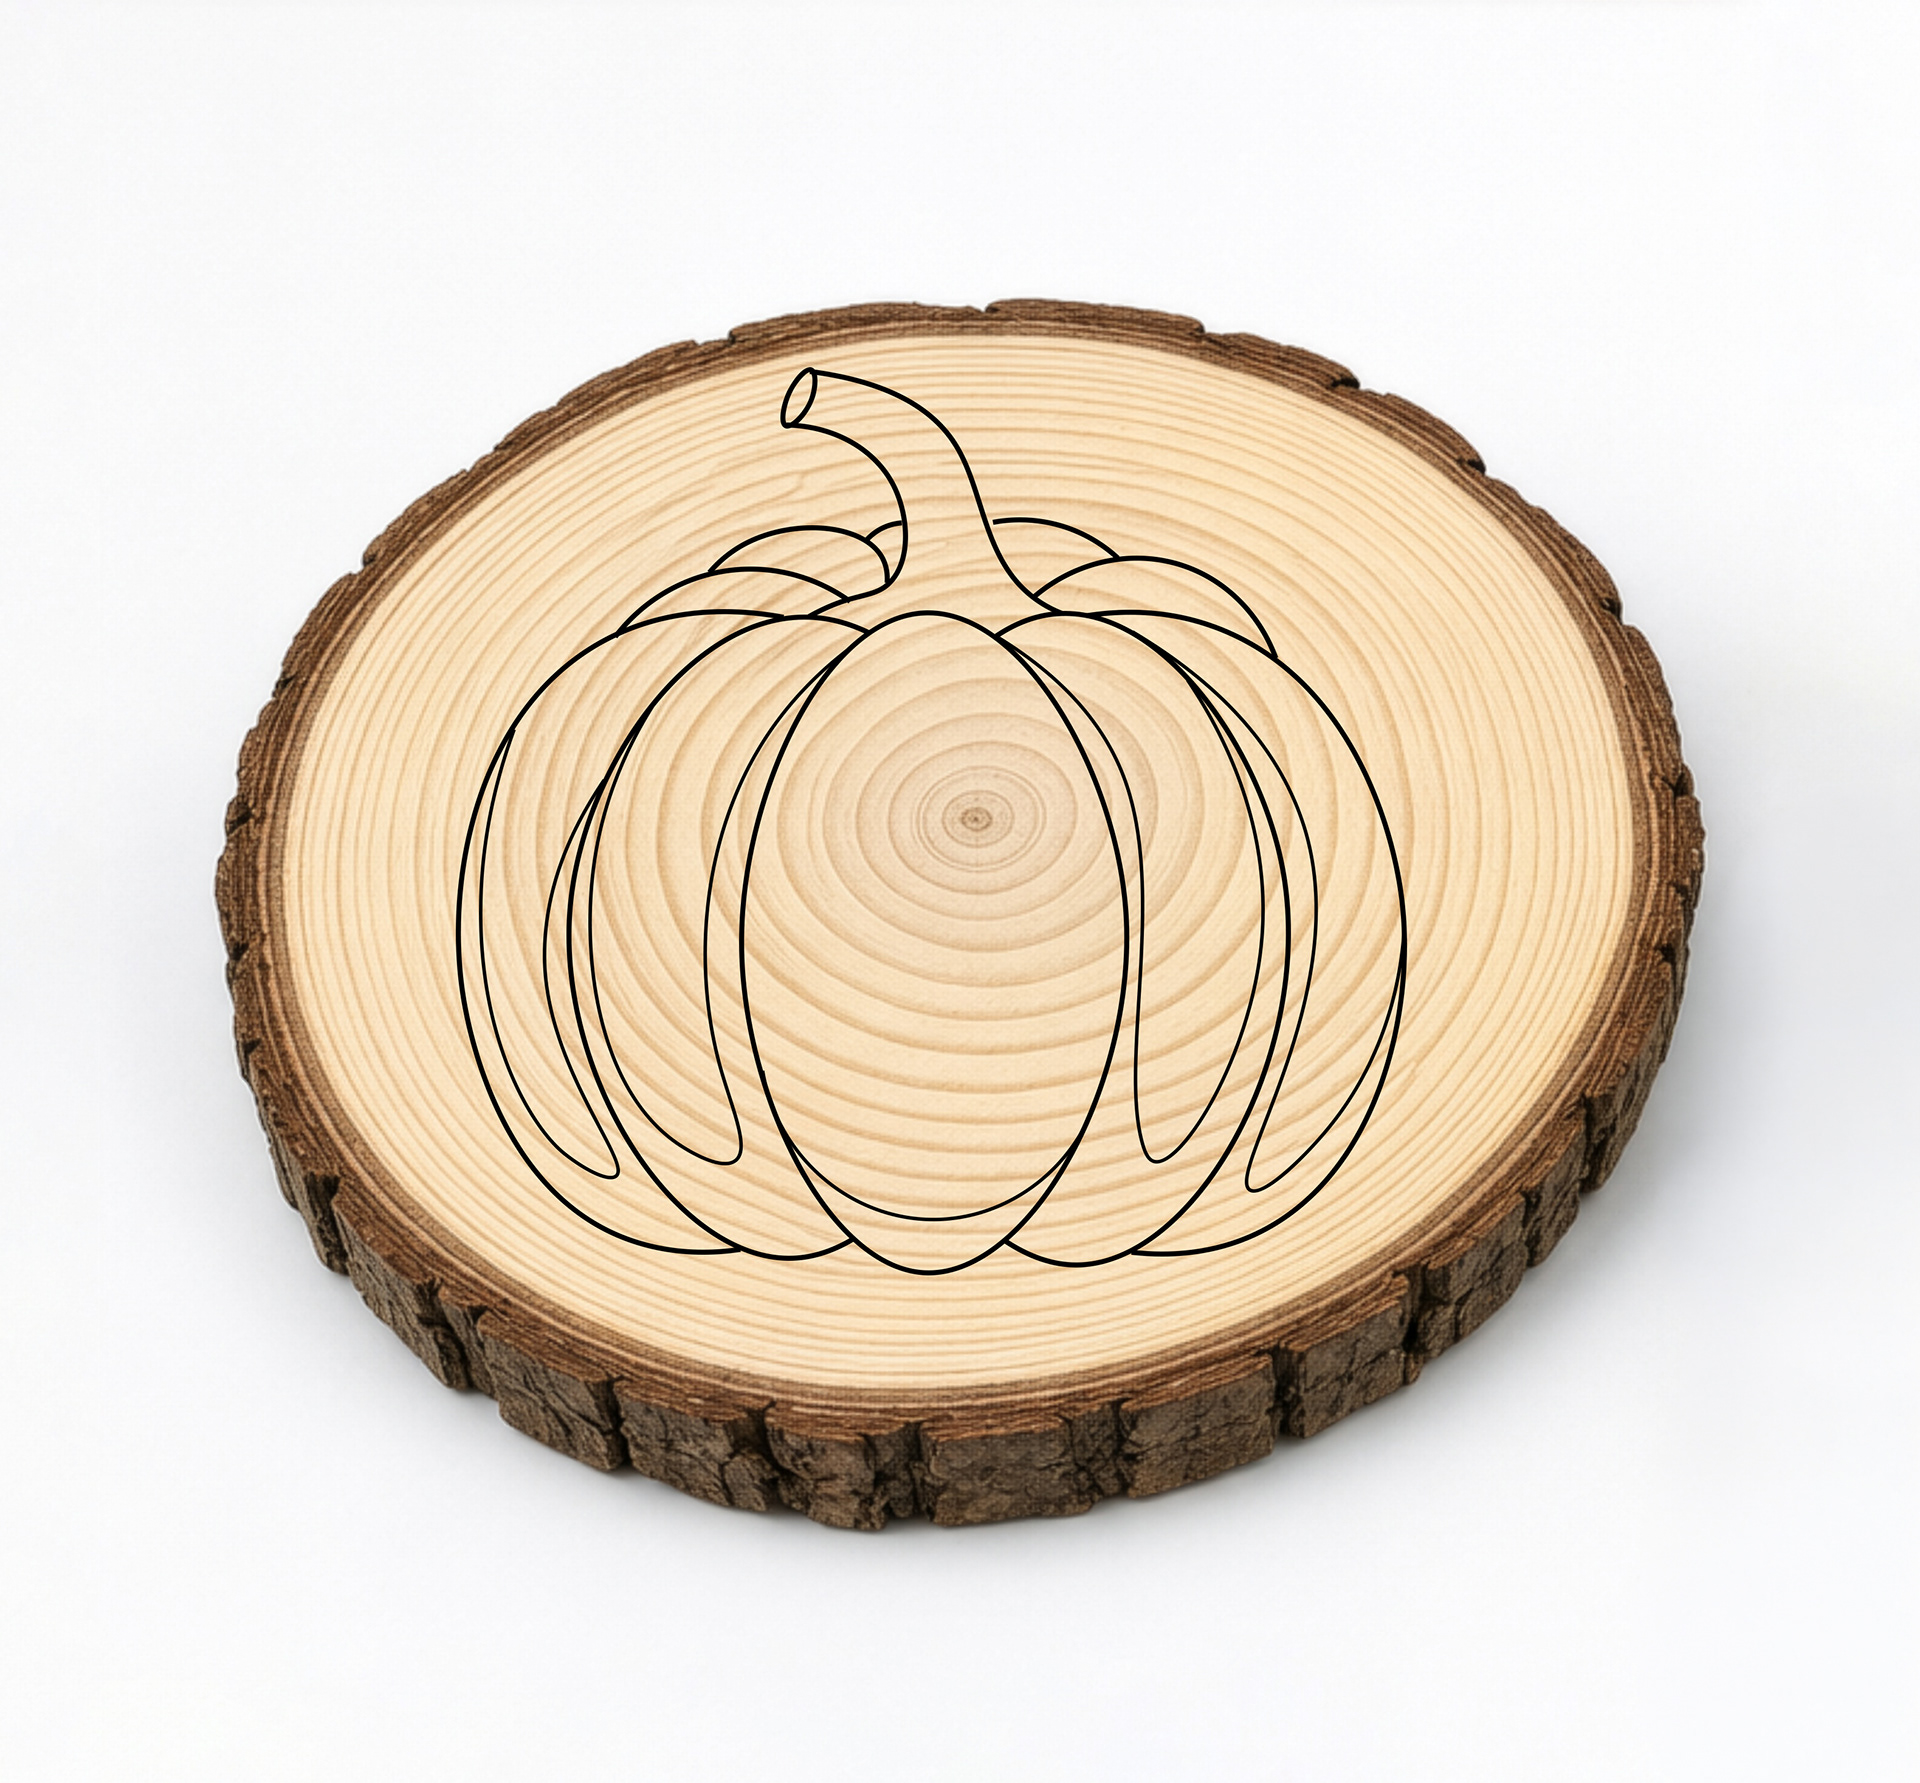
Welcome, and thank you so much for supporting my small business! I am thrilled to have you here and so excited to welcome you to our family of creators who love making art by hand. Below, you will find step-by-step instructions for painting a simple yet beautiful pumpkin on a perfectly natural canvas: a real wood slice. If you have my pumpkin kit, you can follow right along using the colors provided. However, please feel free to use any colors that speak to your heart! It’s your art, your pumpkin, and your imagination. Let's dive in!
Step1
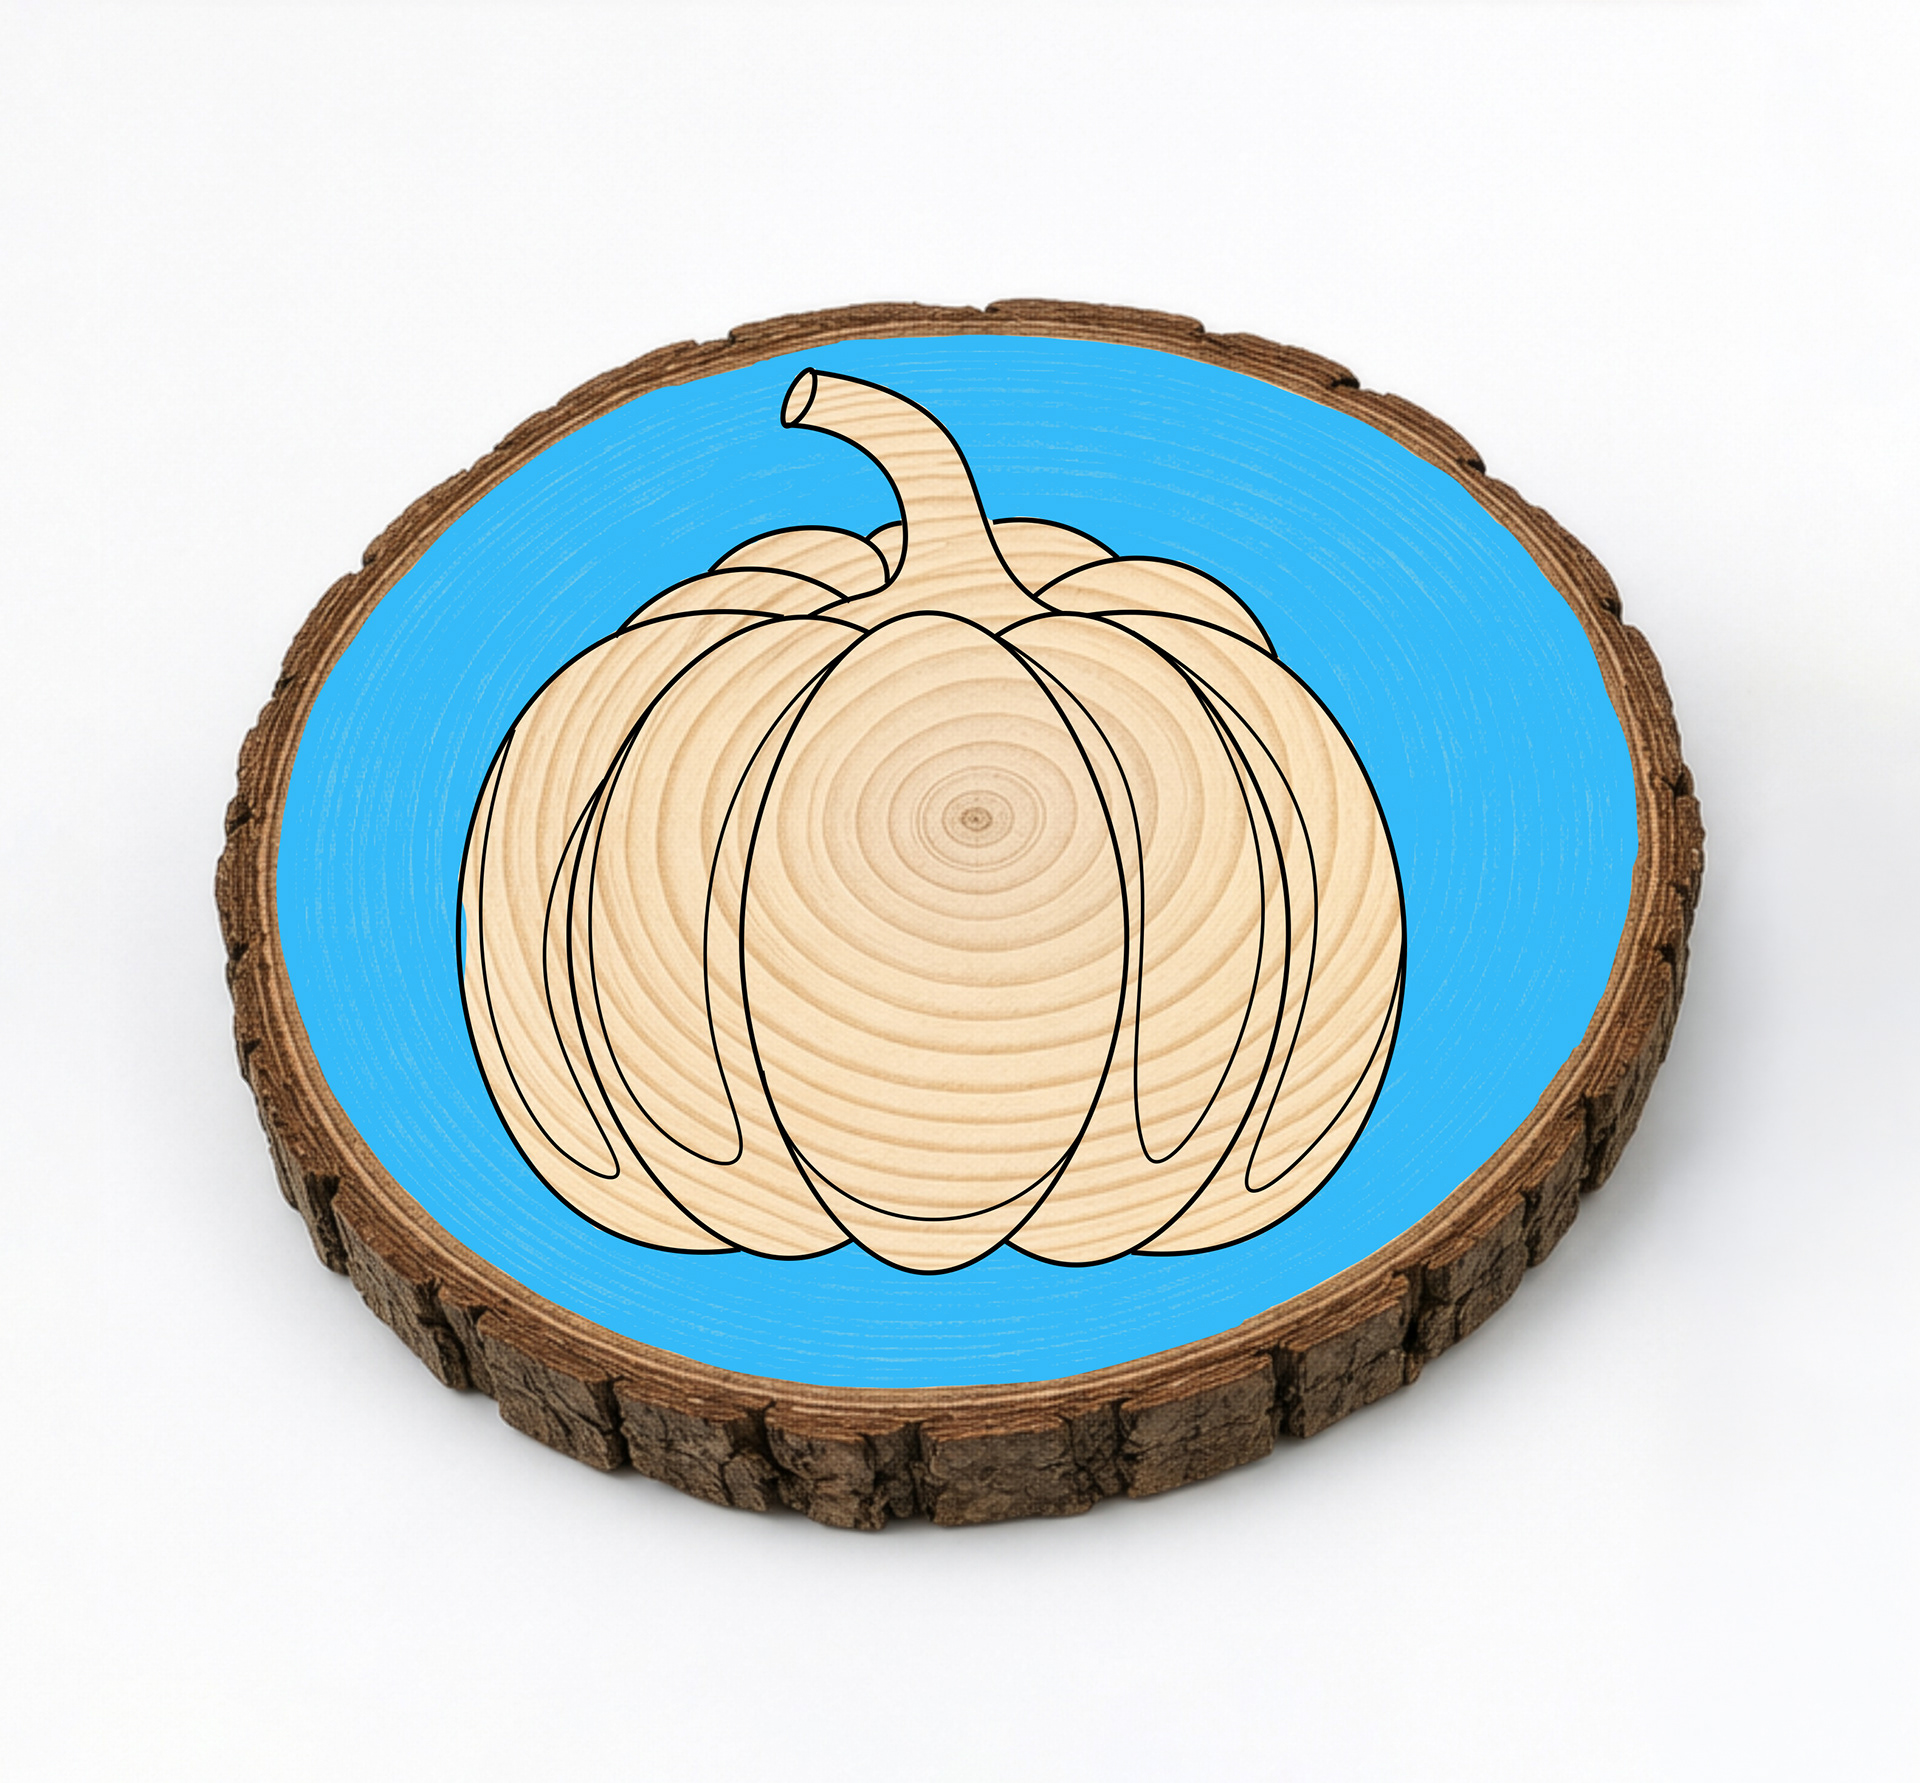
Using blue color, paint the background. Try not to go inside the pumpkin outline. Blue (a cold color) will add more contrast to the image between the warm, bright colors of the pumpkin and the cold, pastel background color.
Step 2
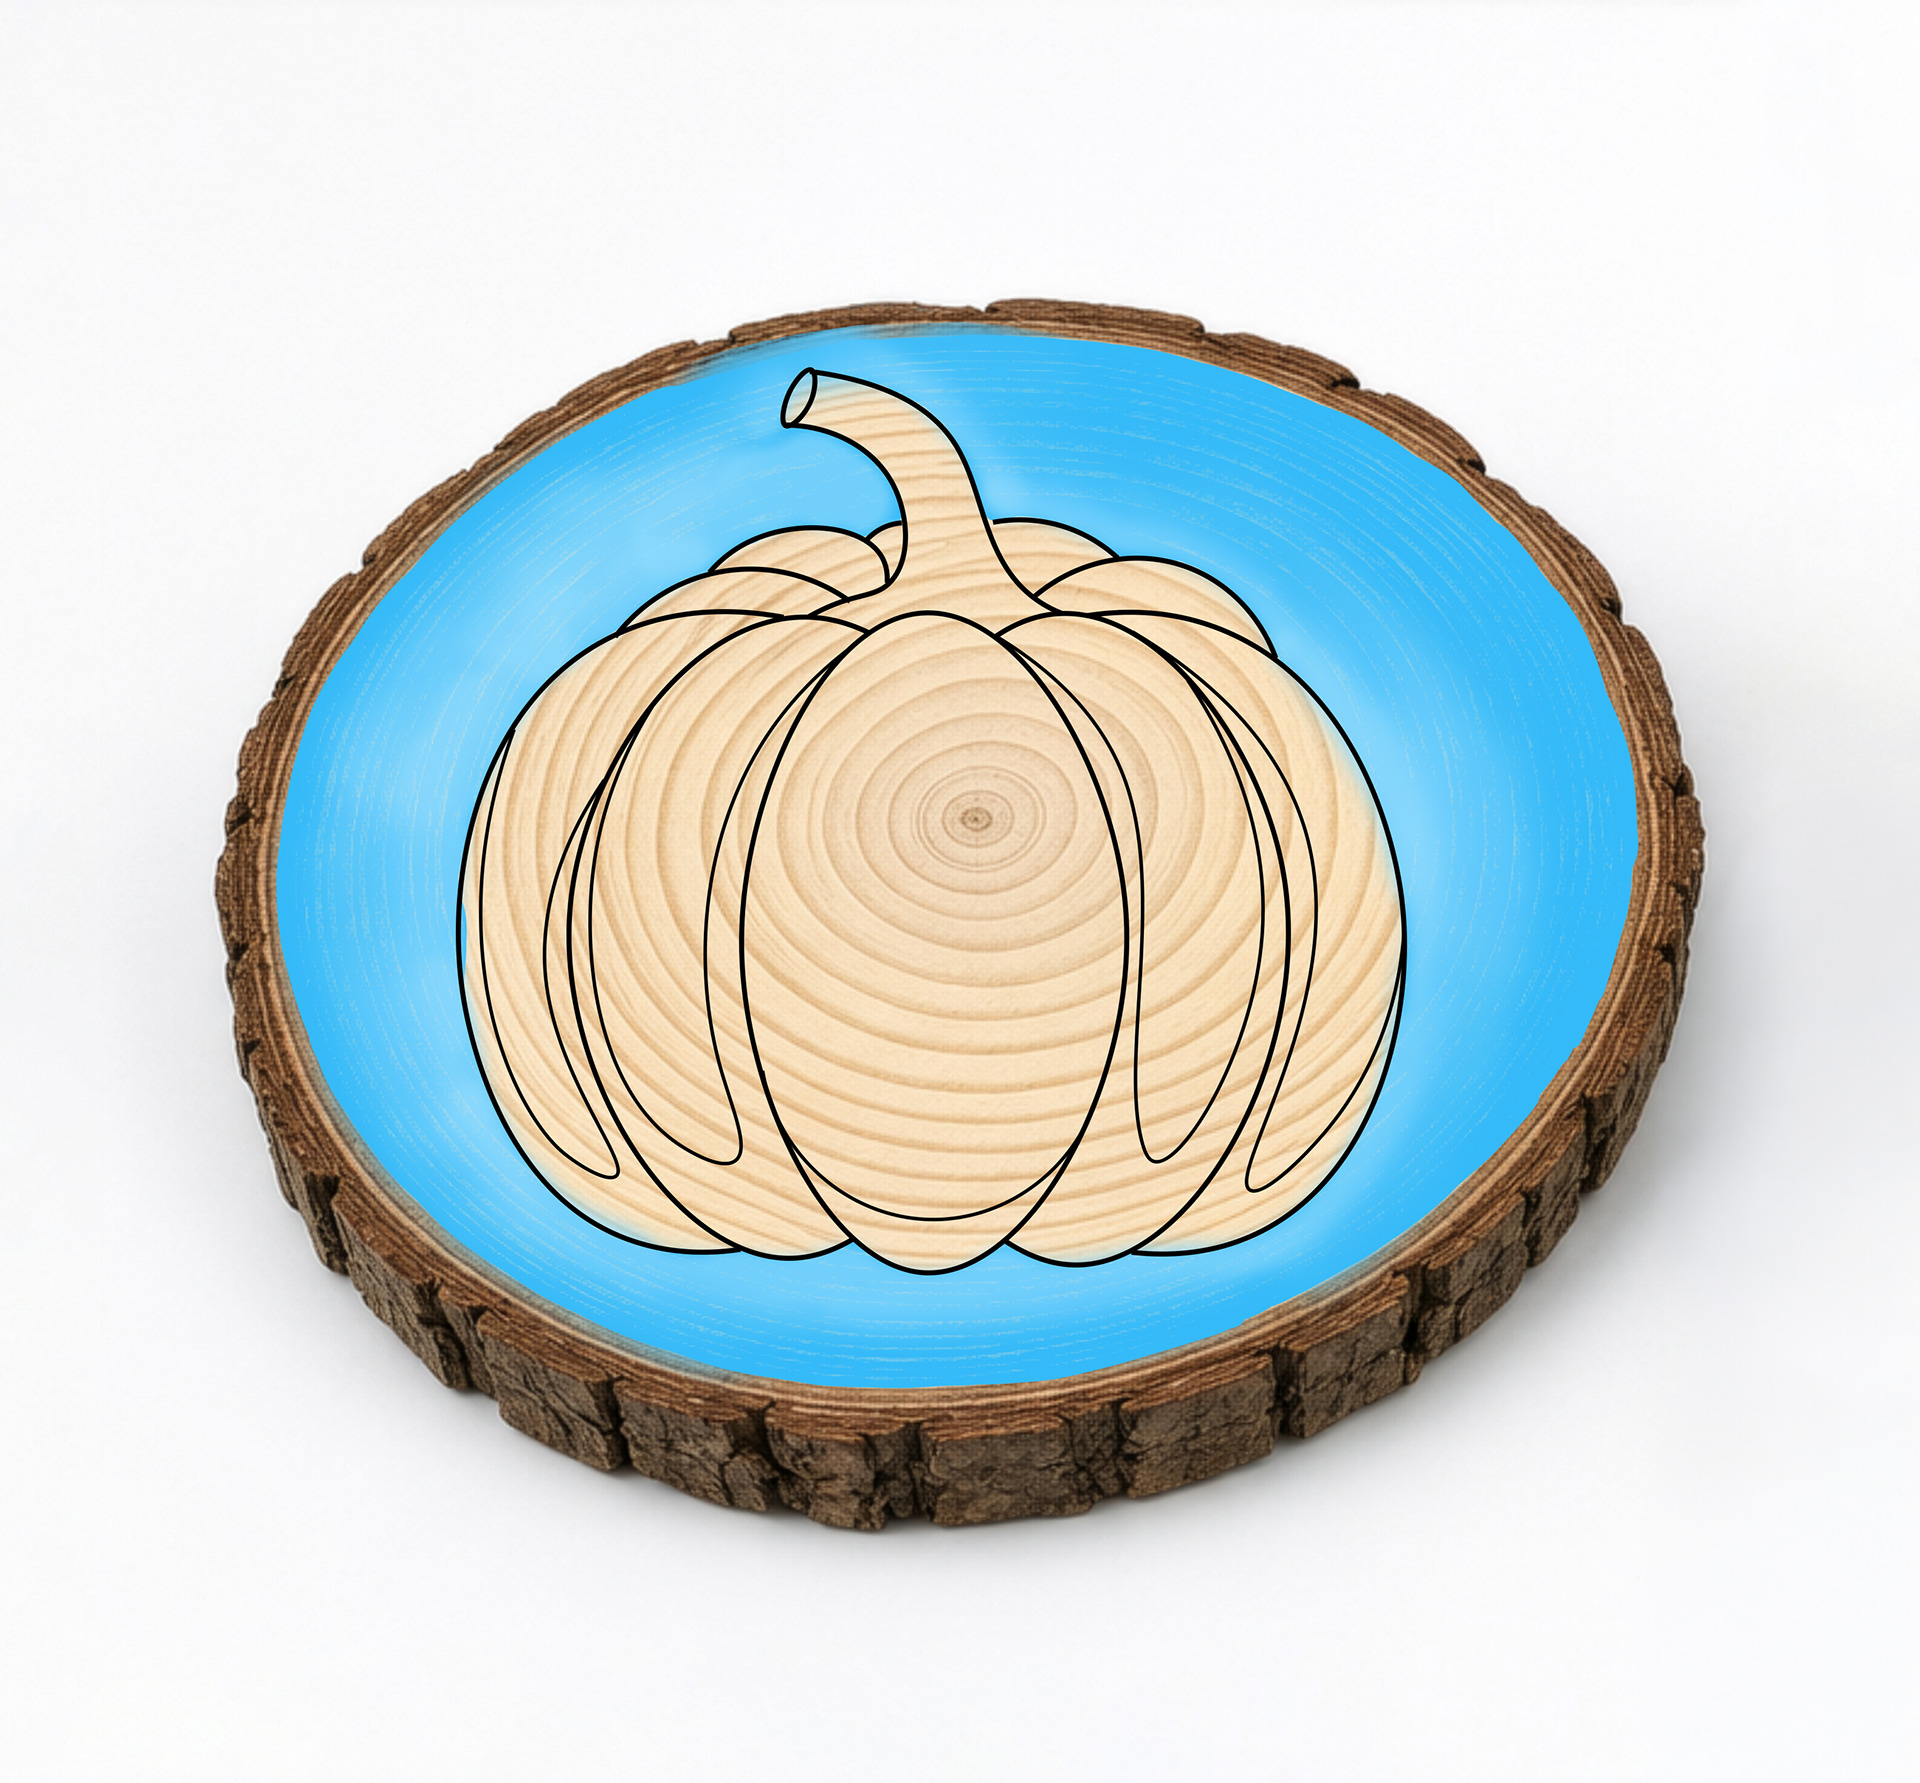
Optional: You can mix the blue and white colors together to have a light blue, pastel color.
Step 3
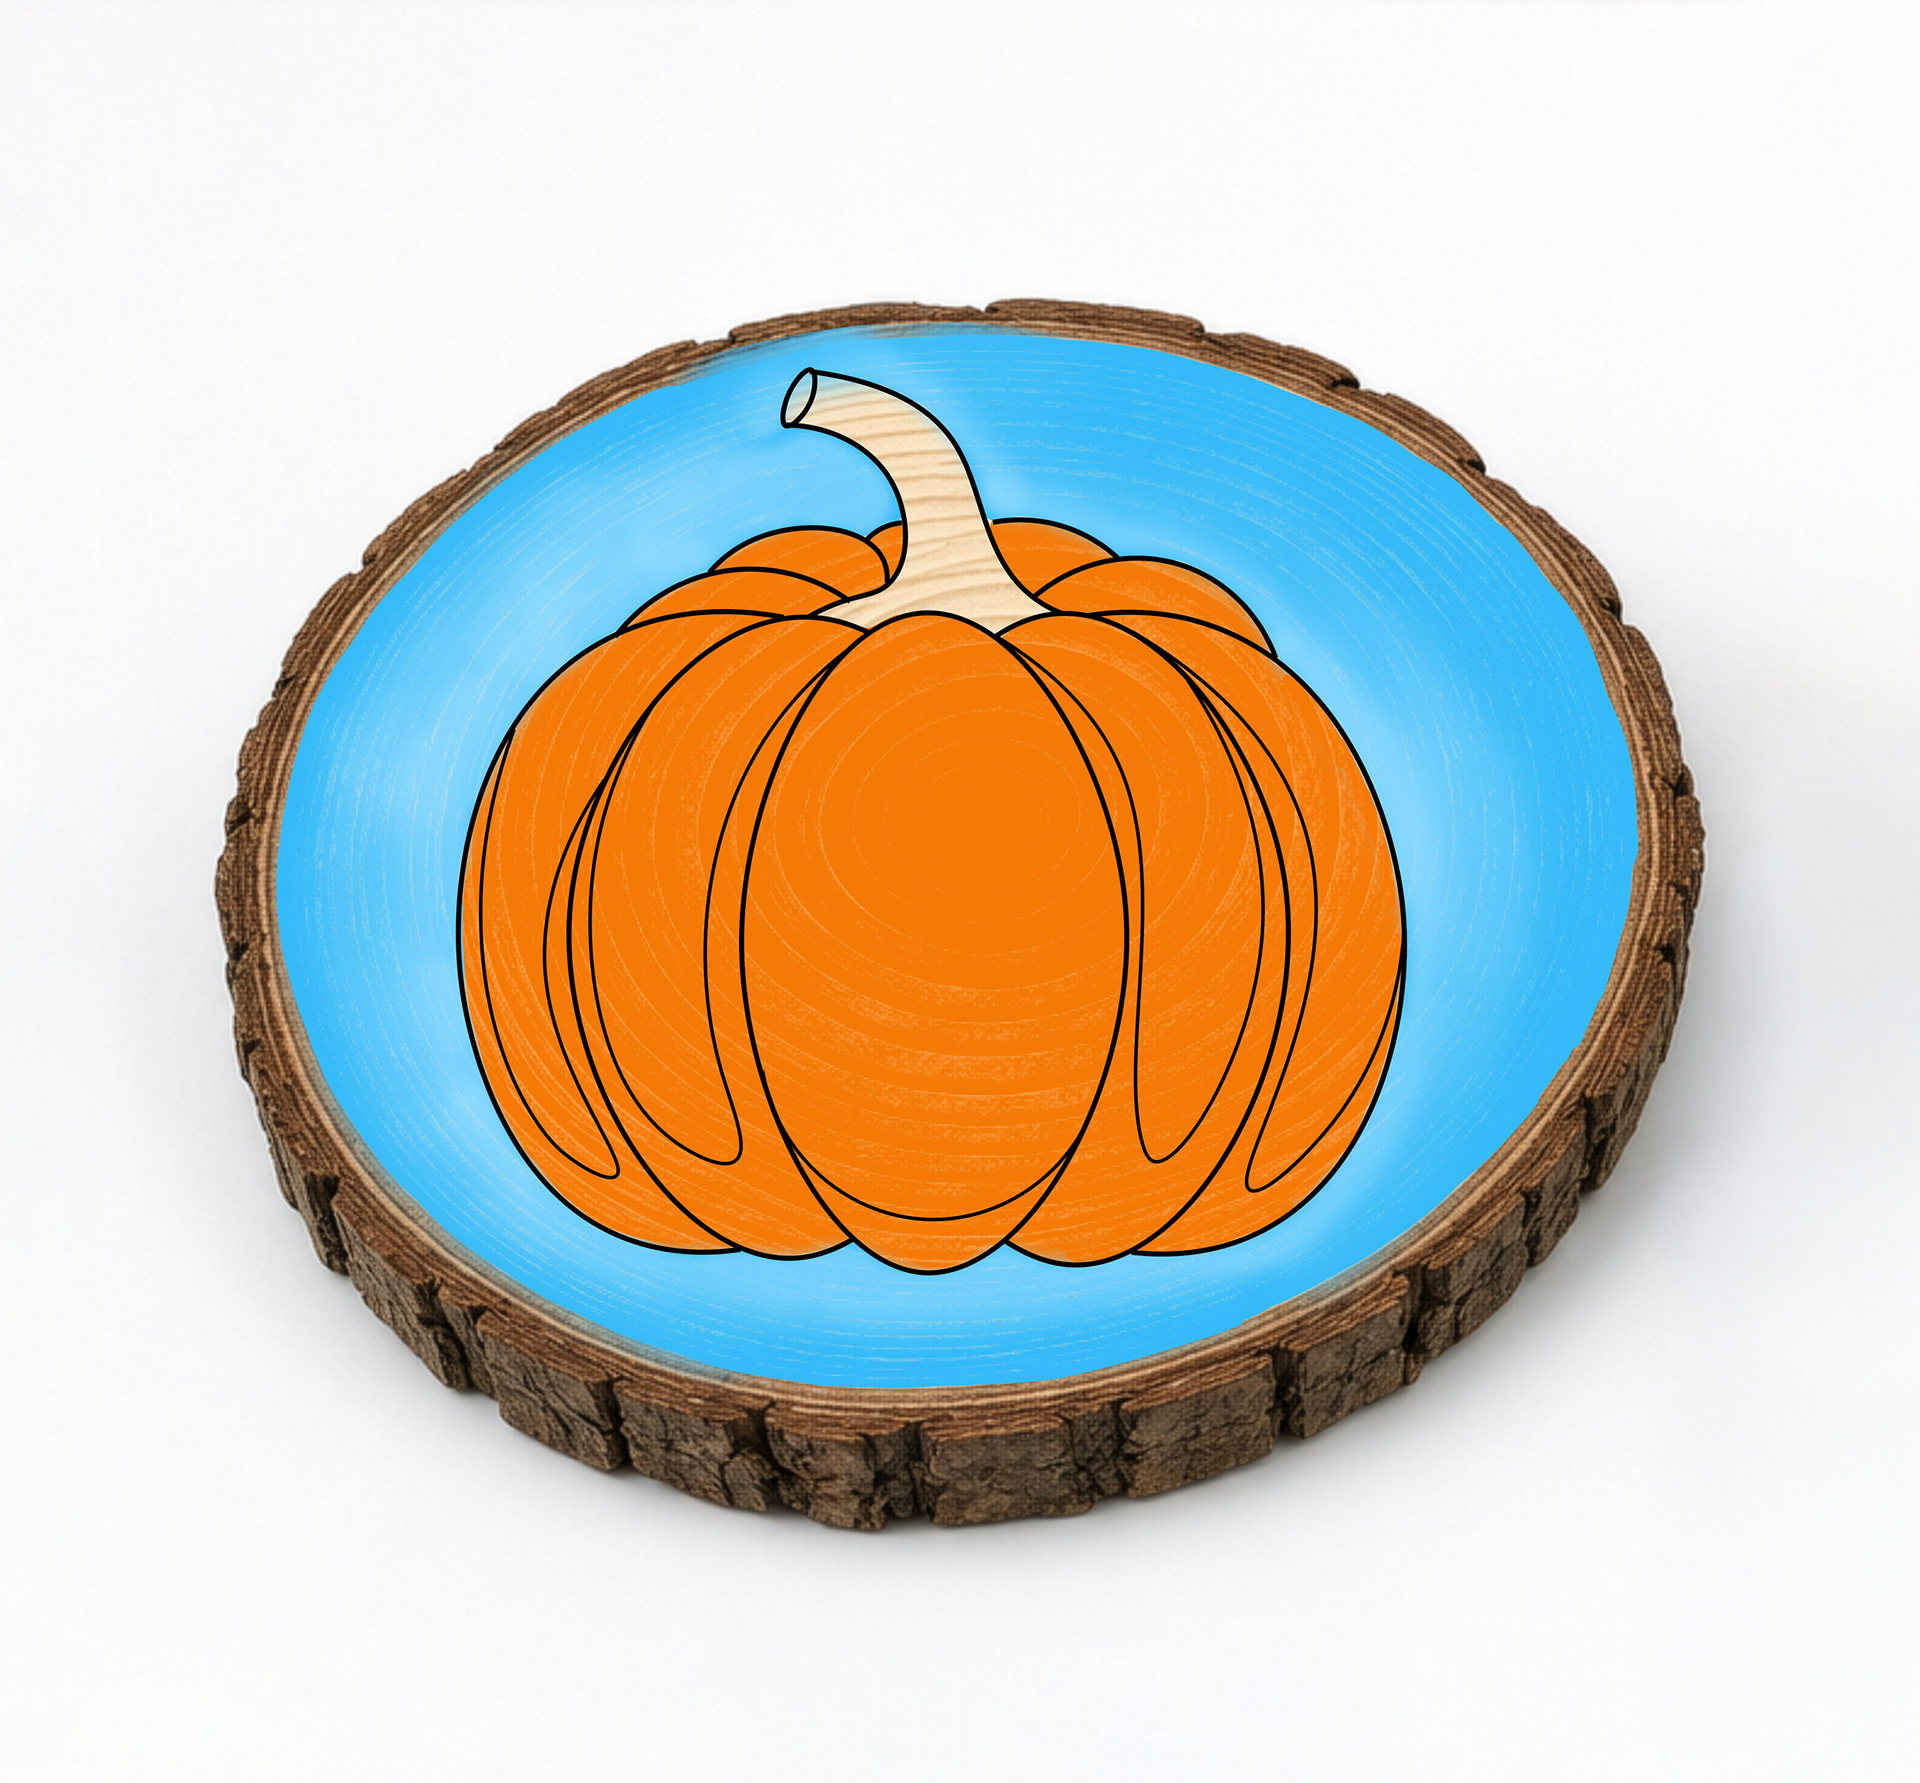
Using Vermilion color (or any other color of your choice), cover the whole pumpkin except the stem.
Step 4
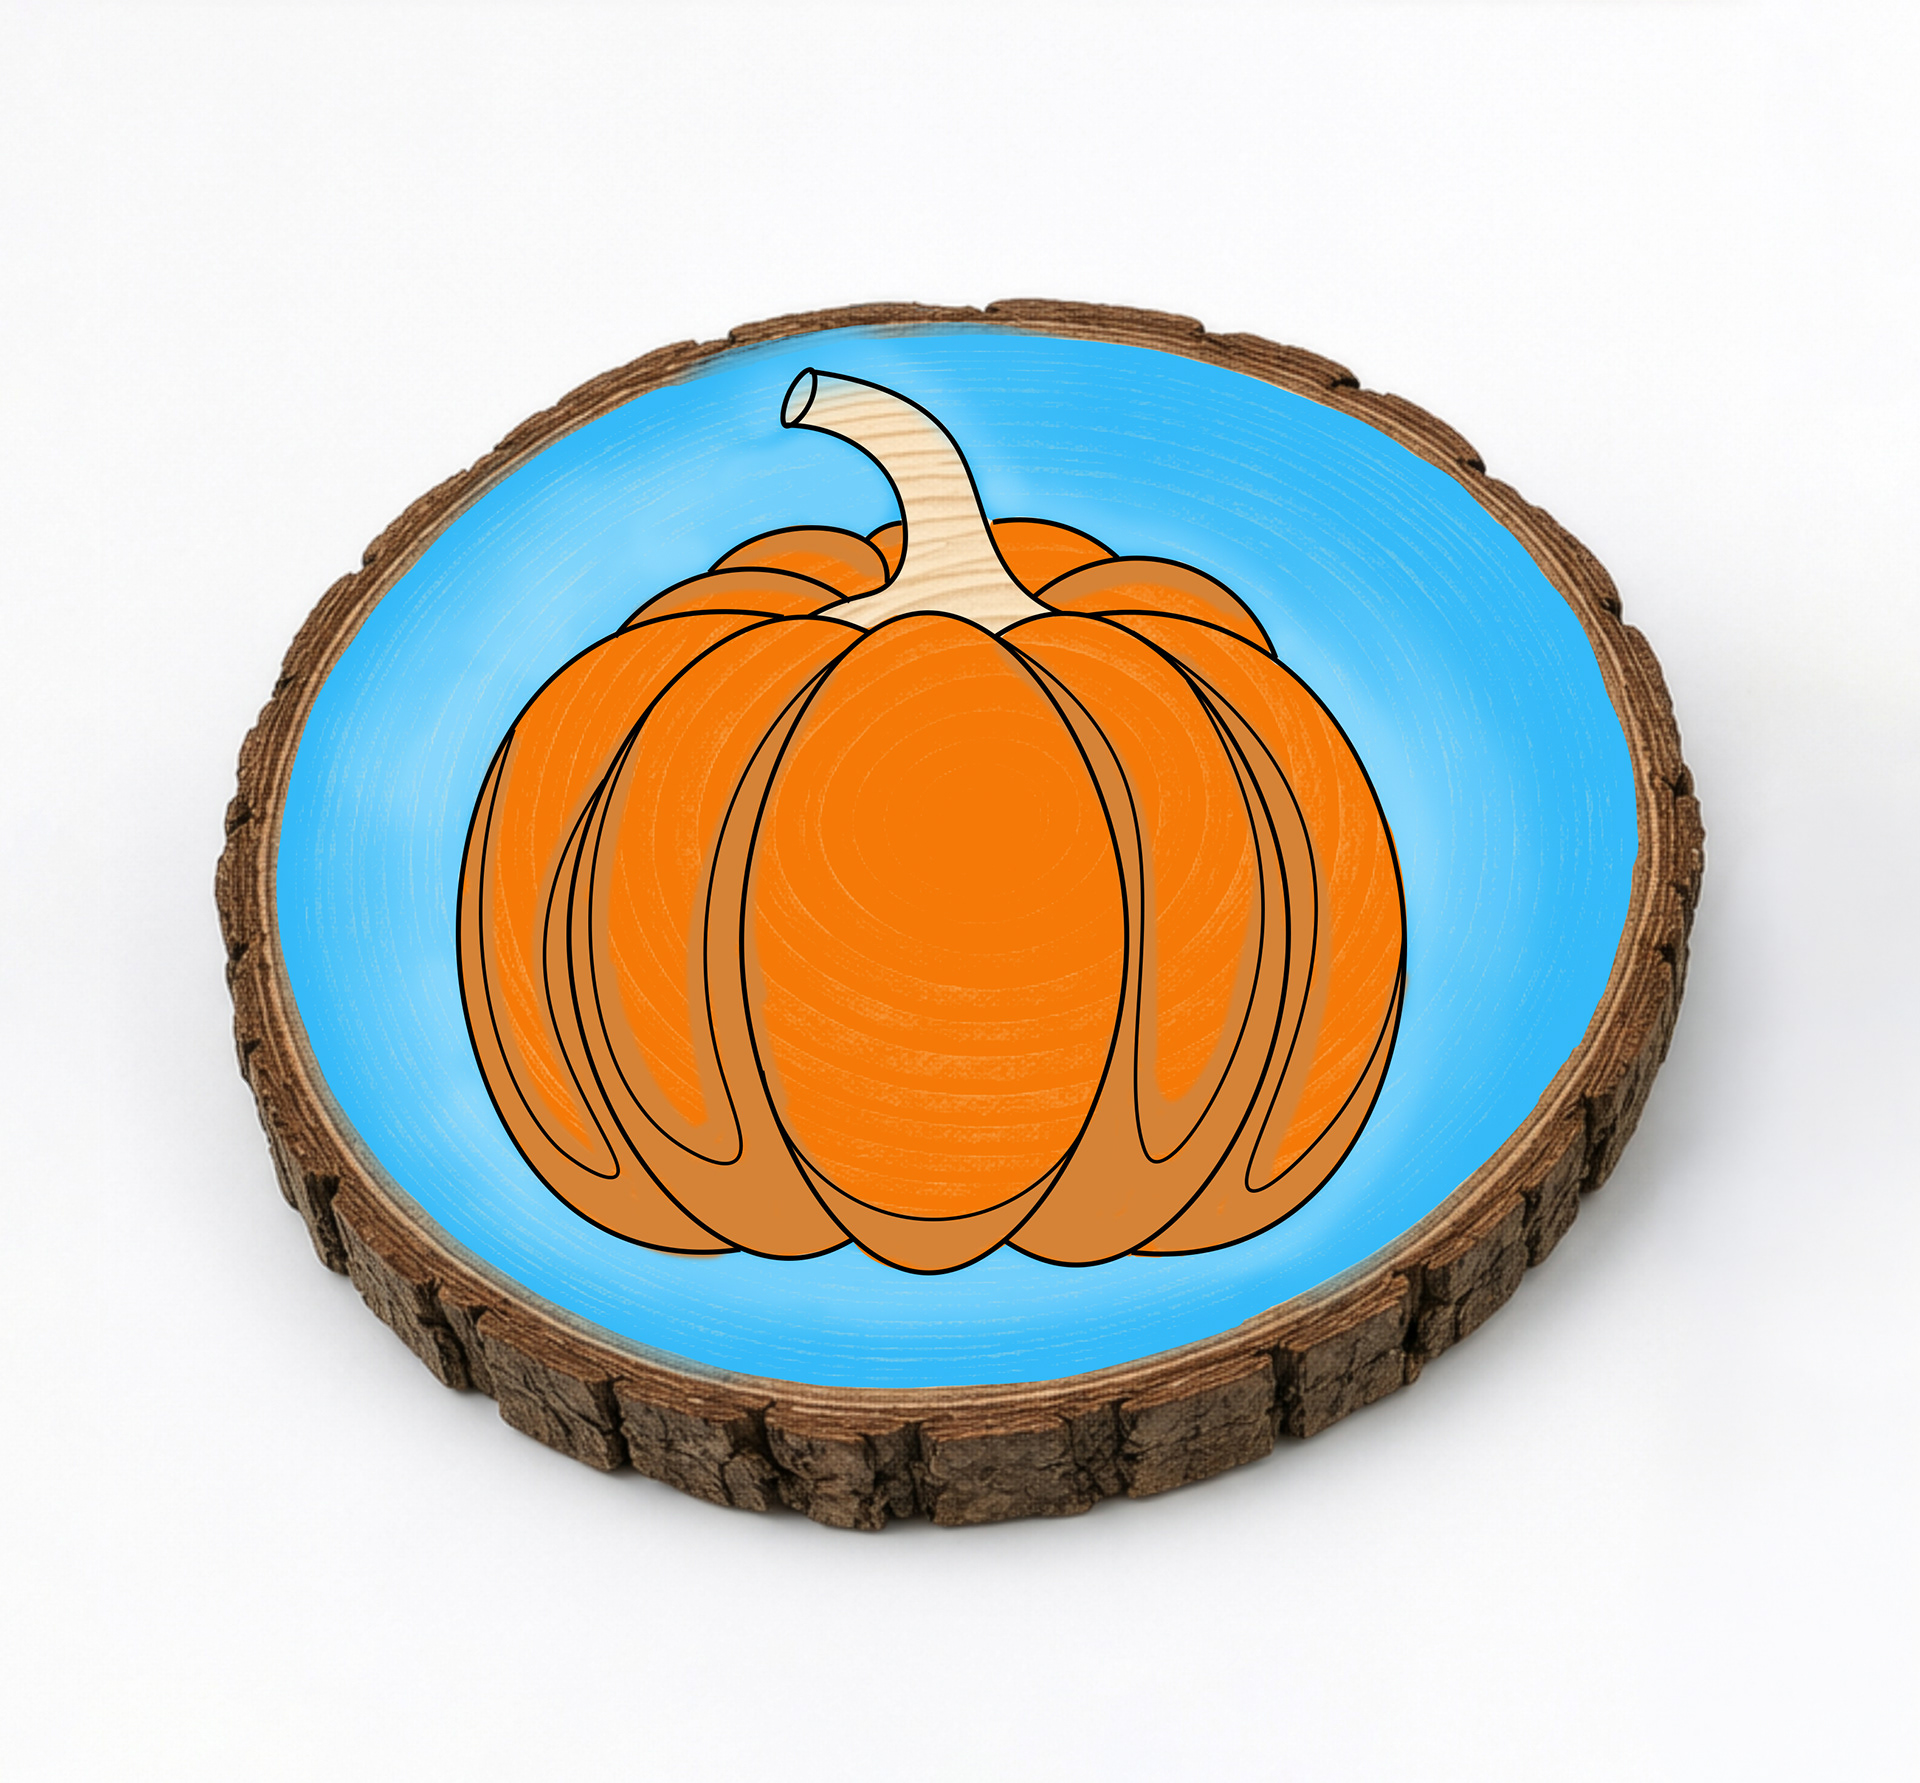
Using Yellow Ochre (or any other color of your choice which has a warmer tone than the pumpkin color), paint at the bottom of the pumpkin as shown in the image.
Step 5
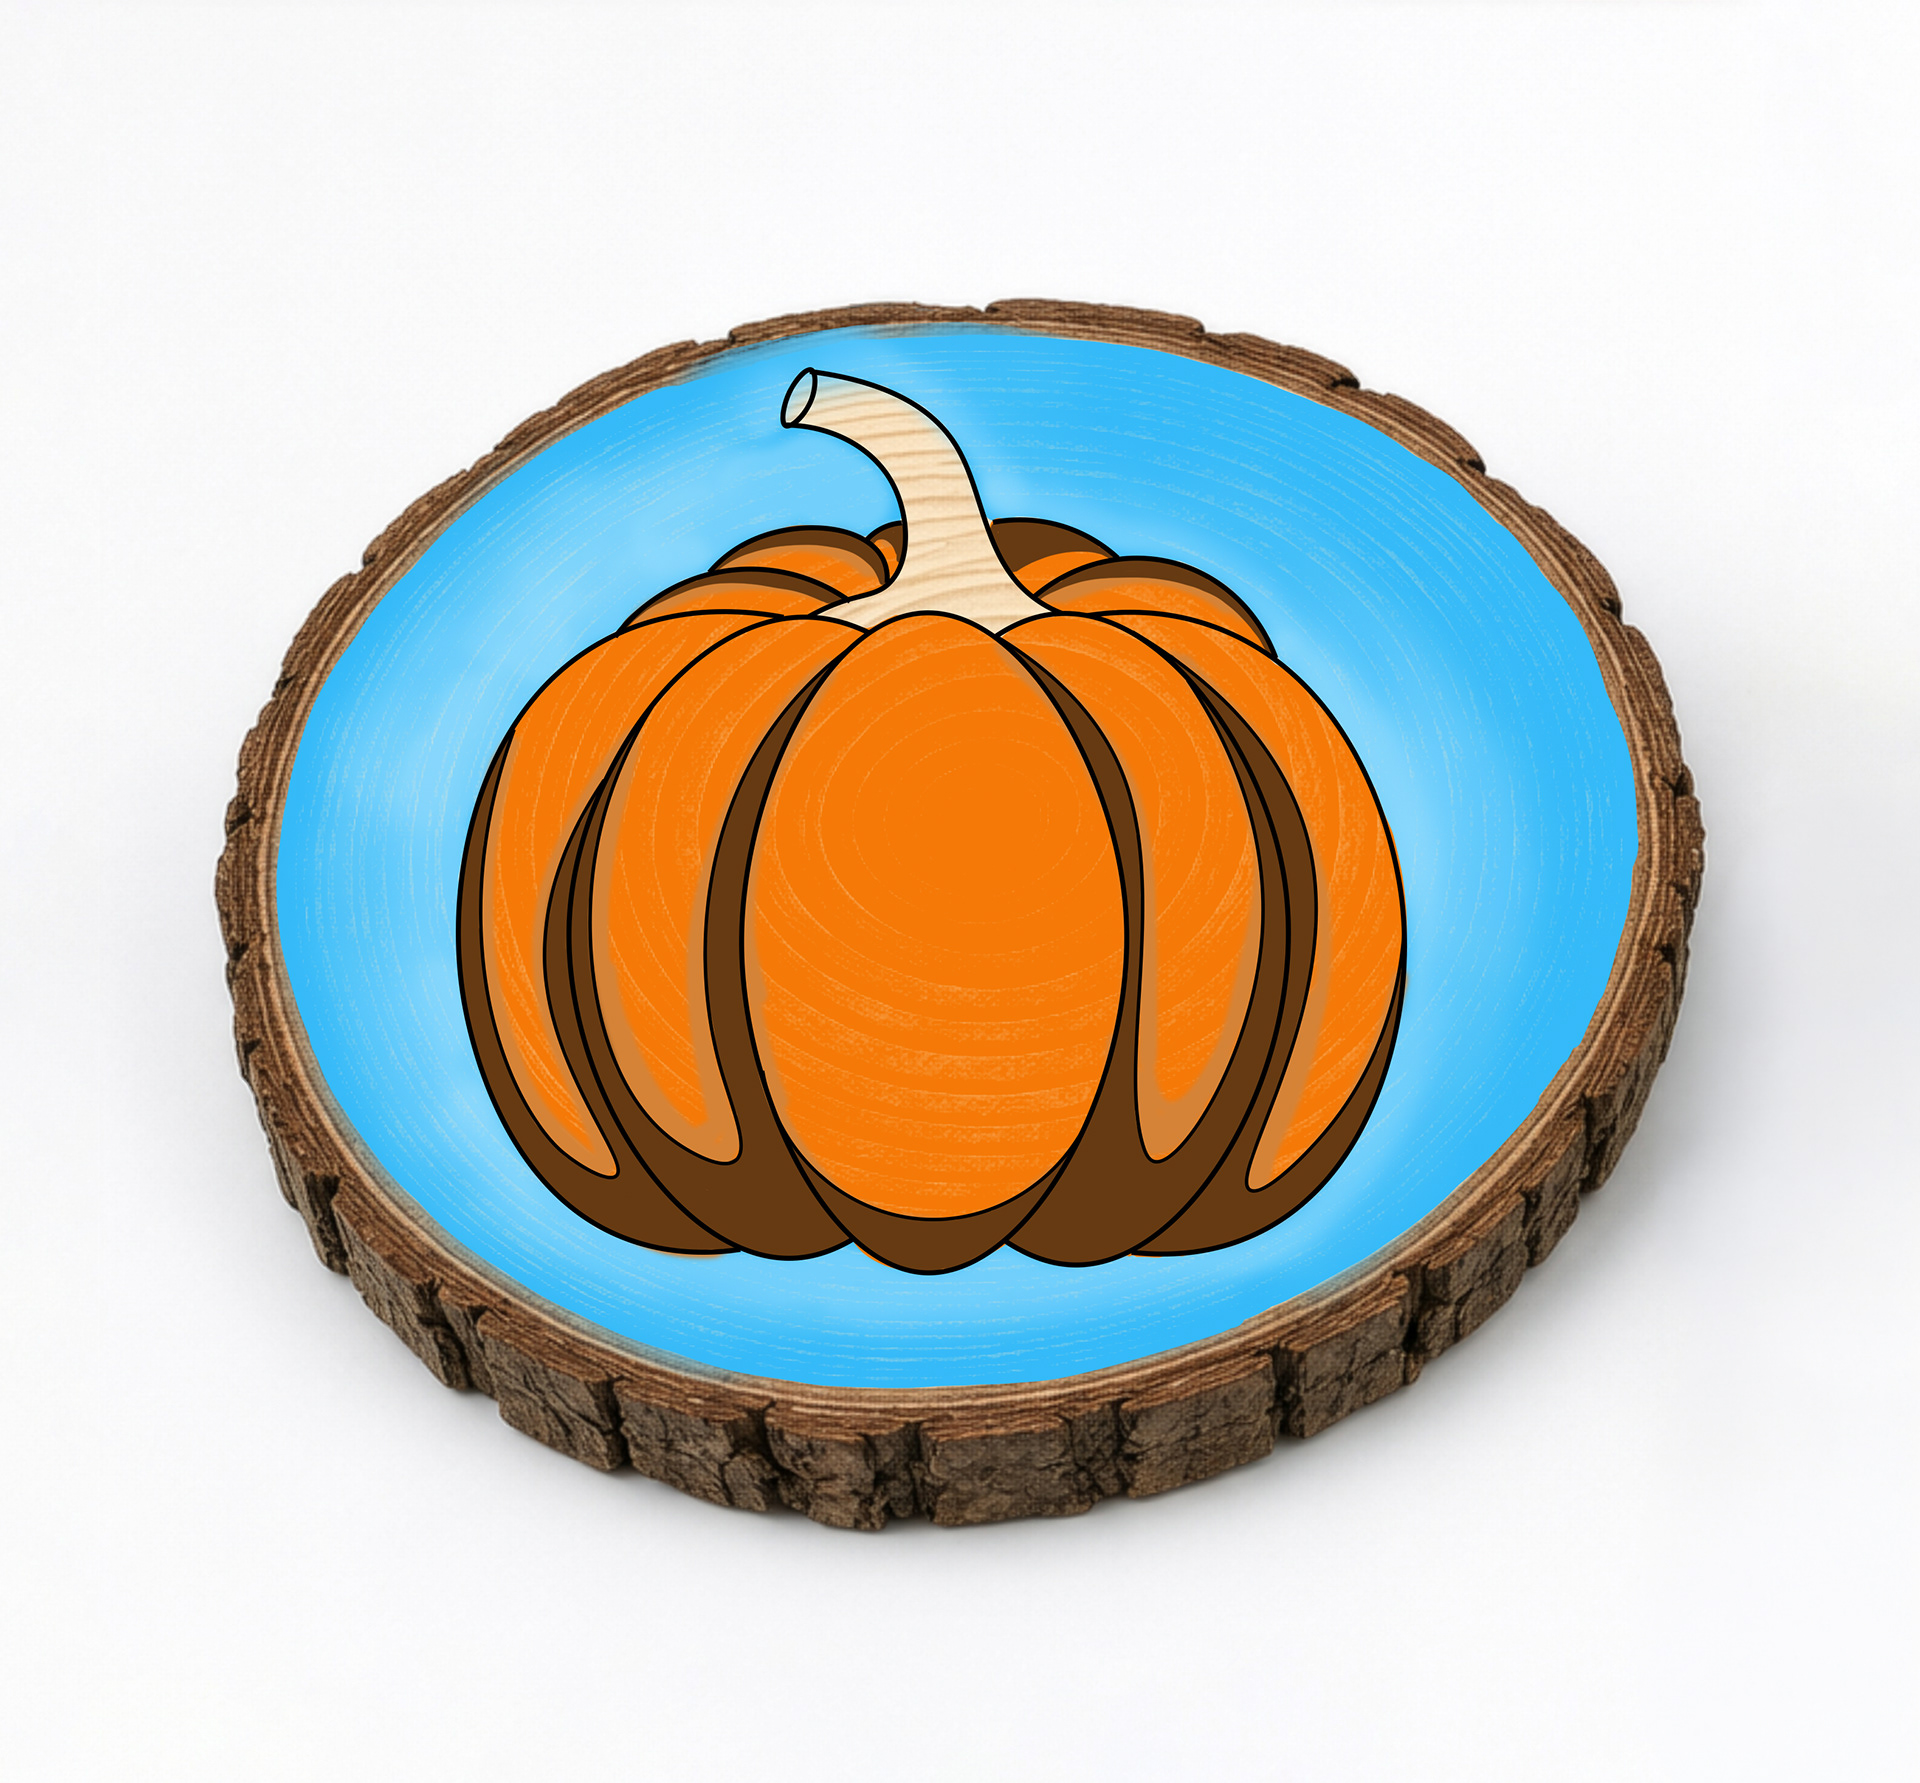
Using Burnt Sienna, paint at the bottom of the pumpkin, staying inside the curvy lines.
Step 6
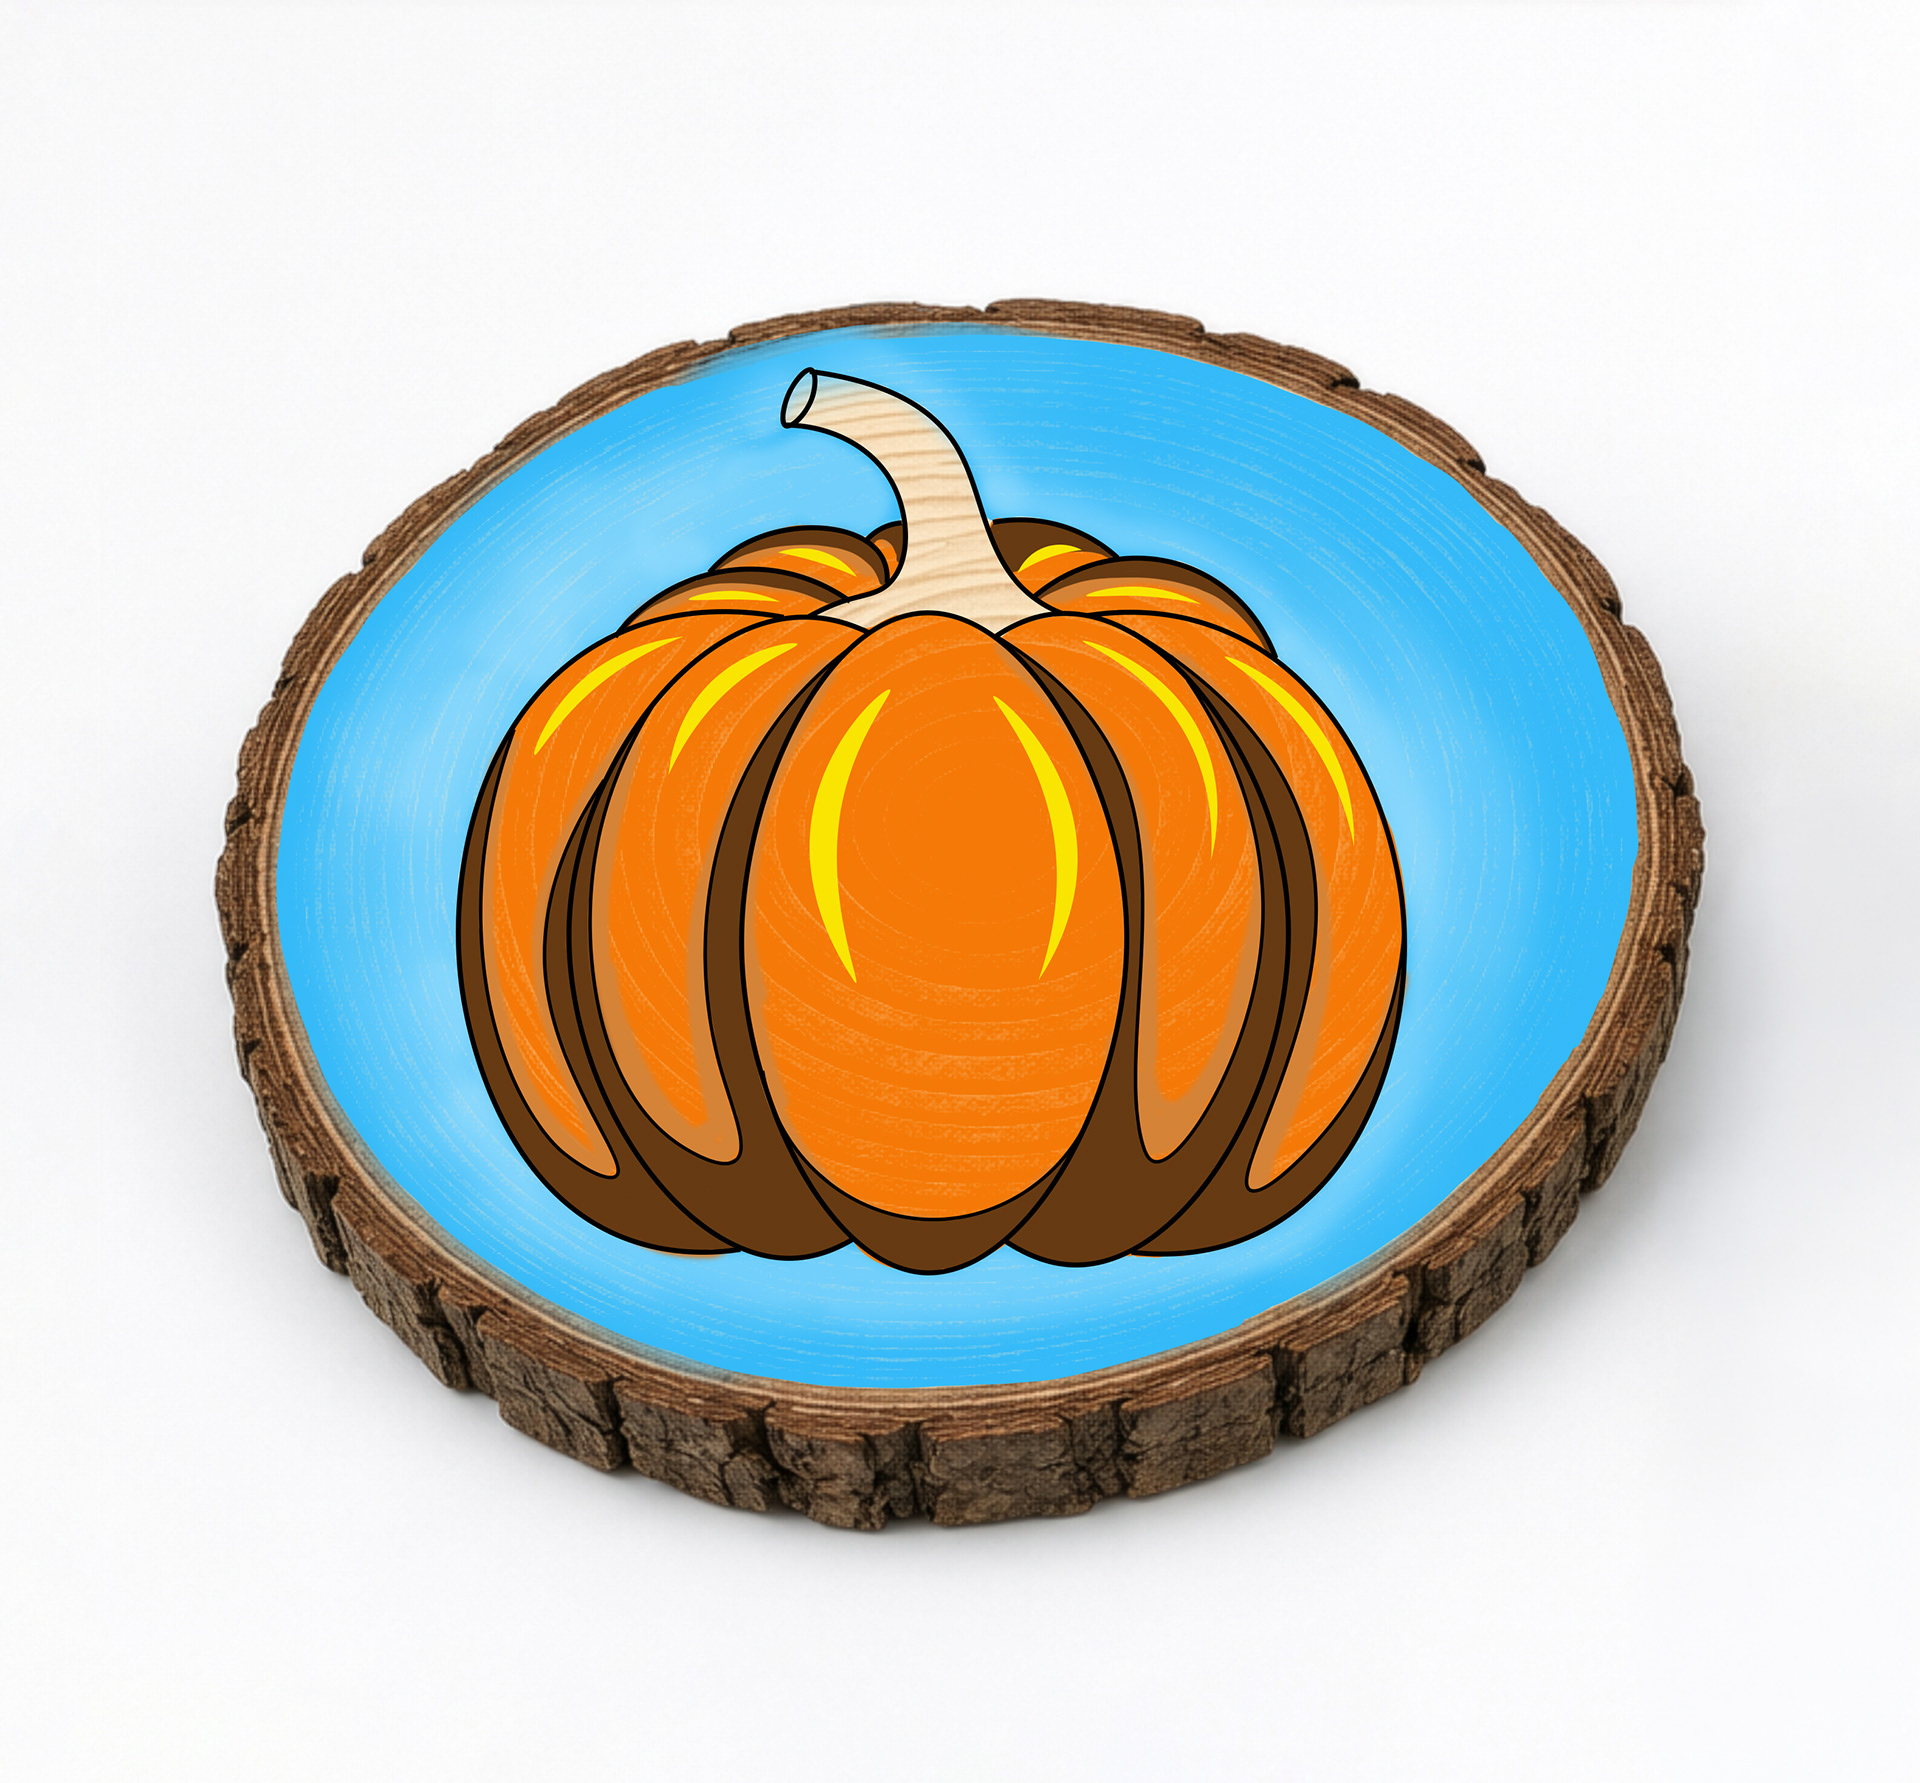
Using Lemon Yellow color, paint highlights inside each section of the pumpkin.
Step 7
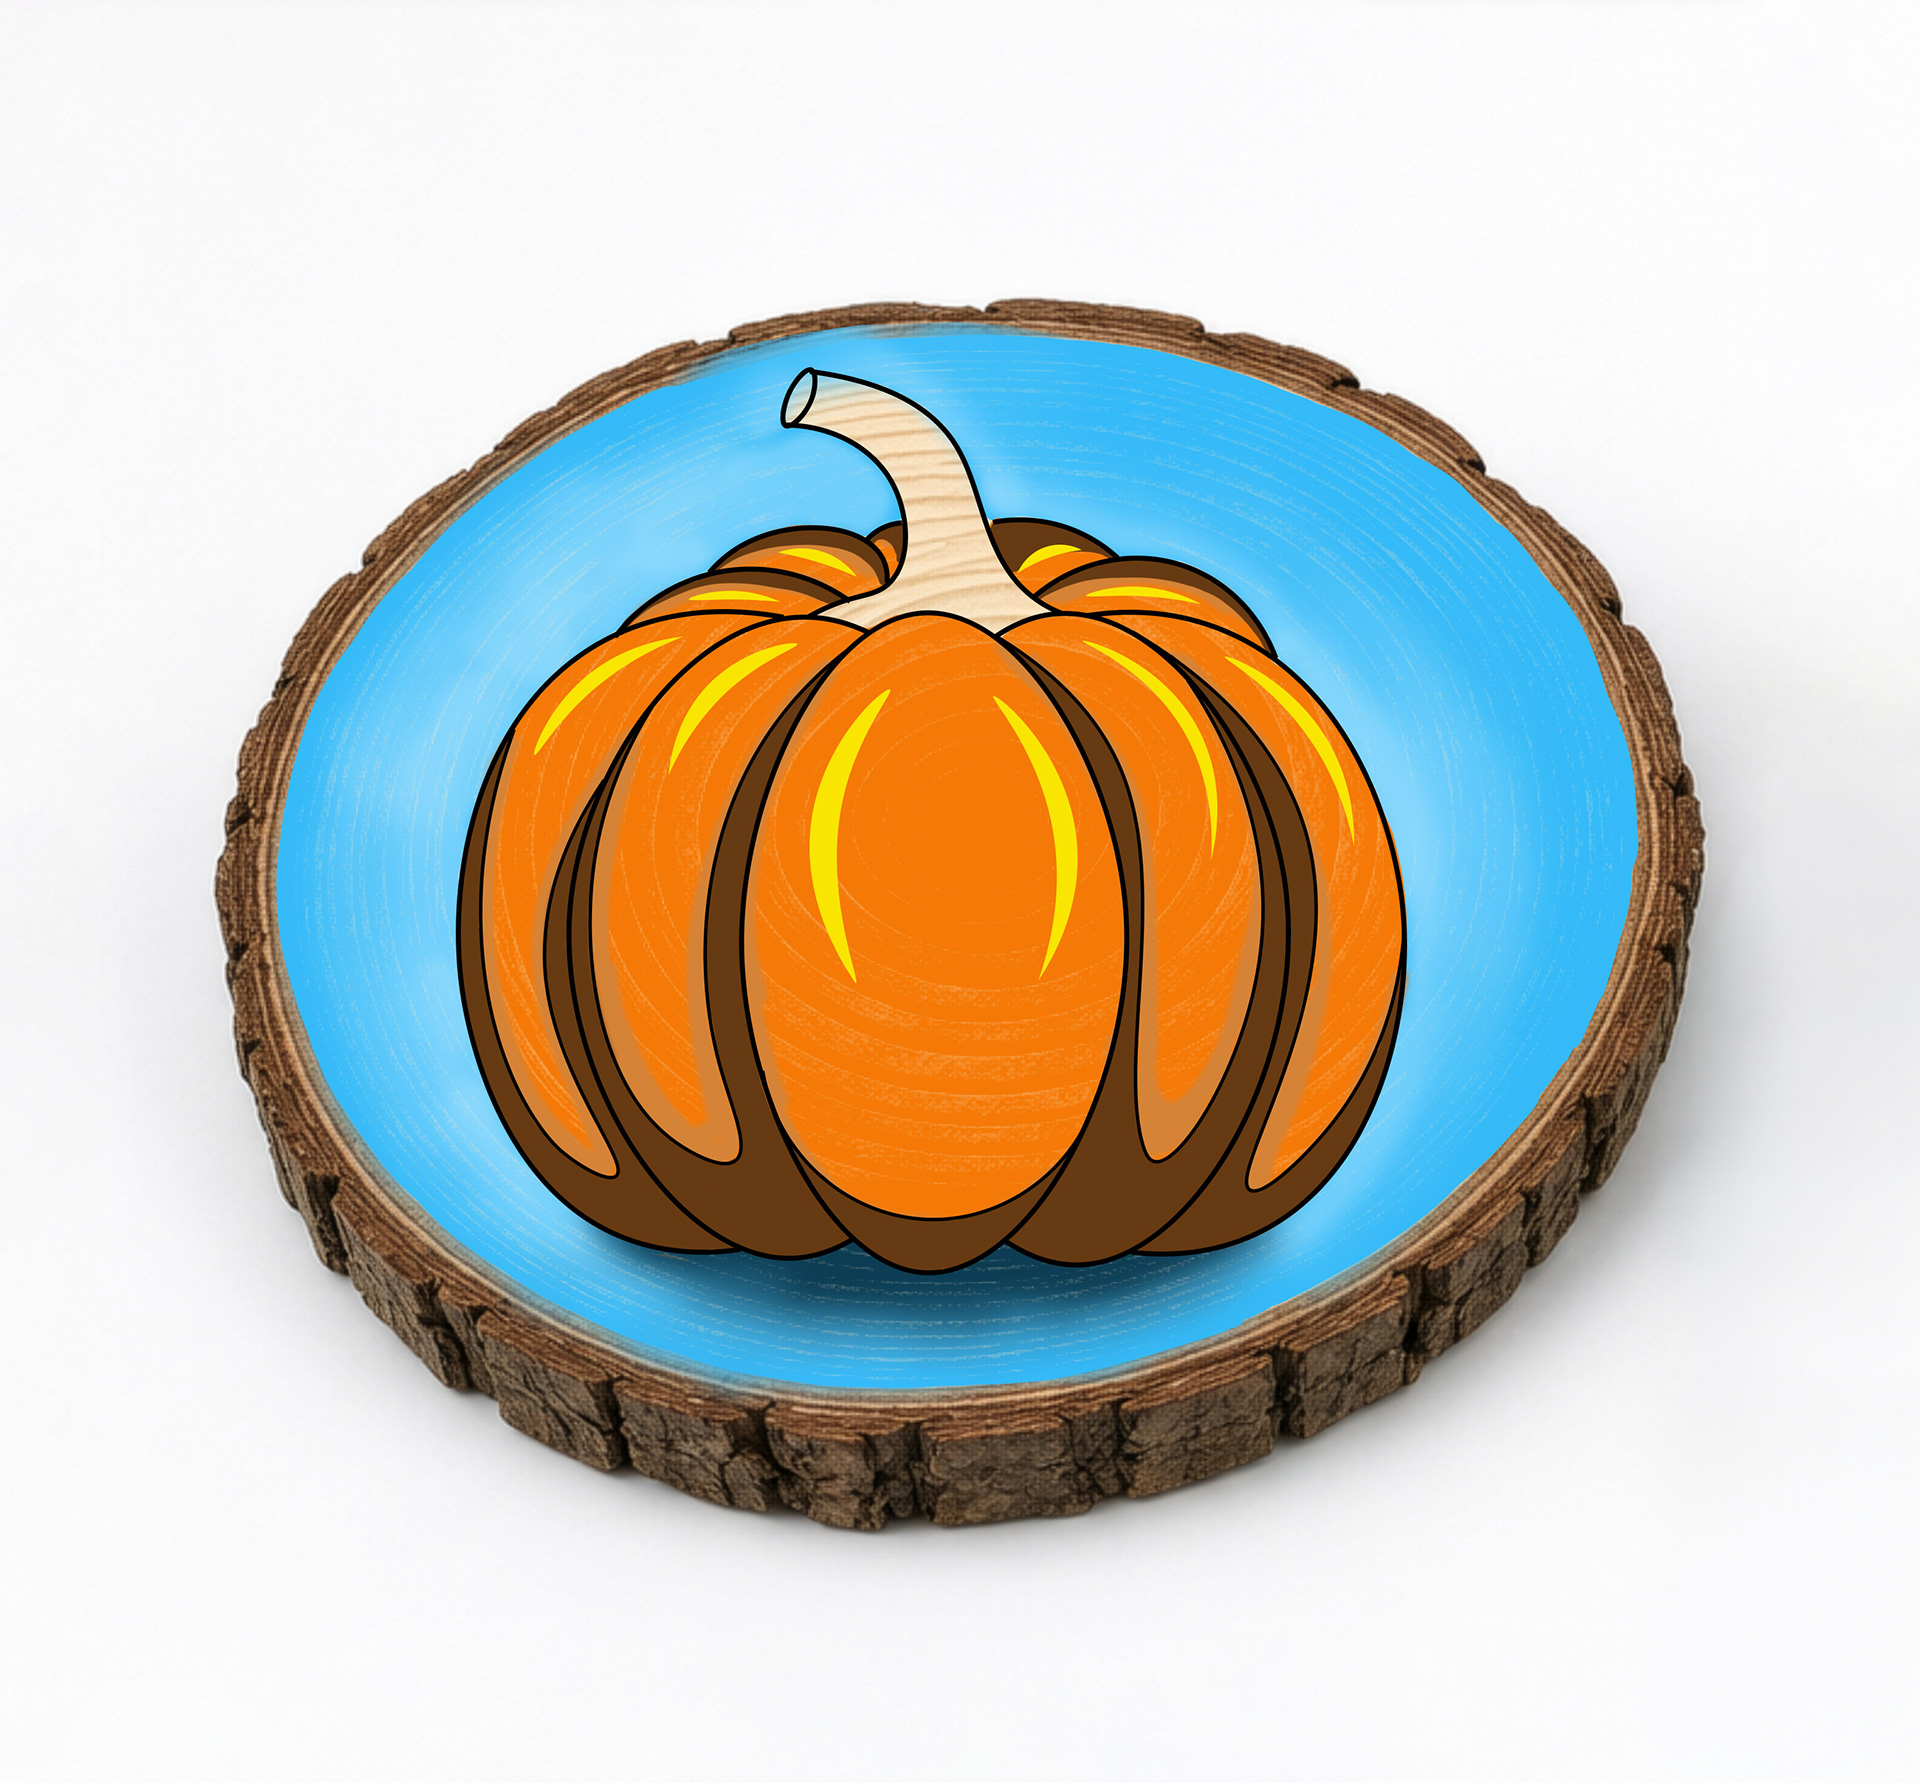
Using Ultramarine Blue color, paint a shadow under the pumpkin. The darkest shadow should be right under the pumpkin.
Optional: You can mix the Ultramarine Blue with white color to make a smoother transition between the shadow and the background.
Tip: Don’t try to "perfectly" blend all the colors. Bold brushstrokes will perfectly complement the natural canvas of the wood slice.
Optional: You can mix the Ultramarine Blue with white color to make a smoother transition between the shadow and the background.
Tip: Don’t try to "perfectly" blend all the colors. Bold brushstrokes will perfectly complement the natural canvas of the wood slice.
Step 8
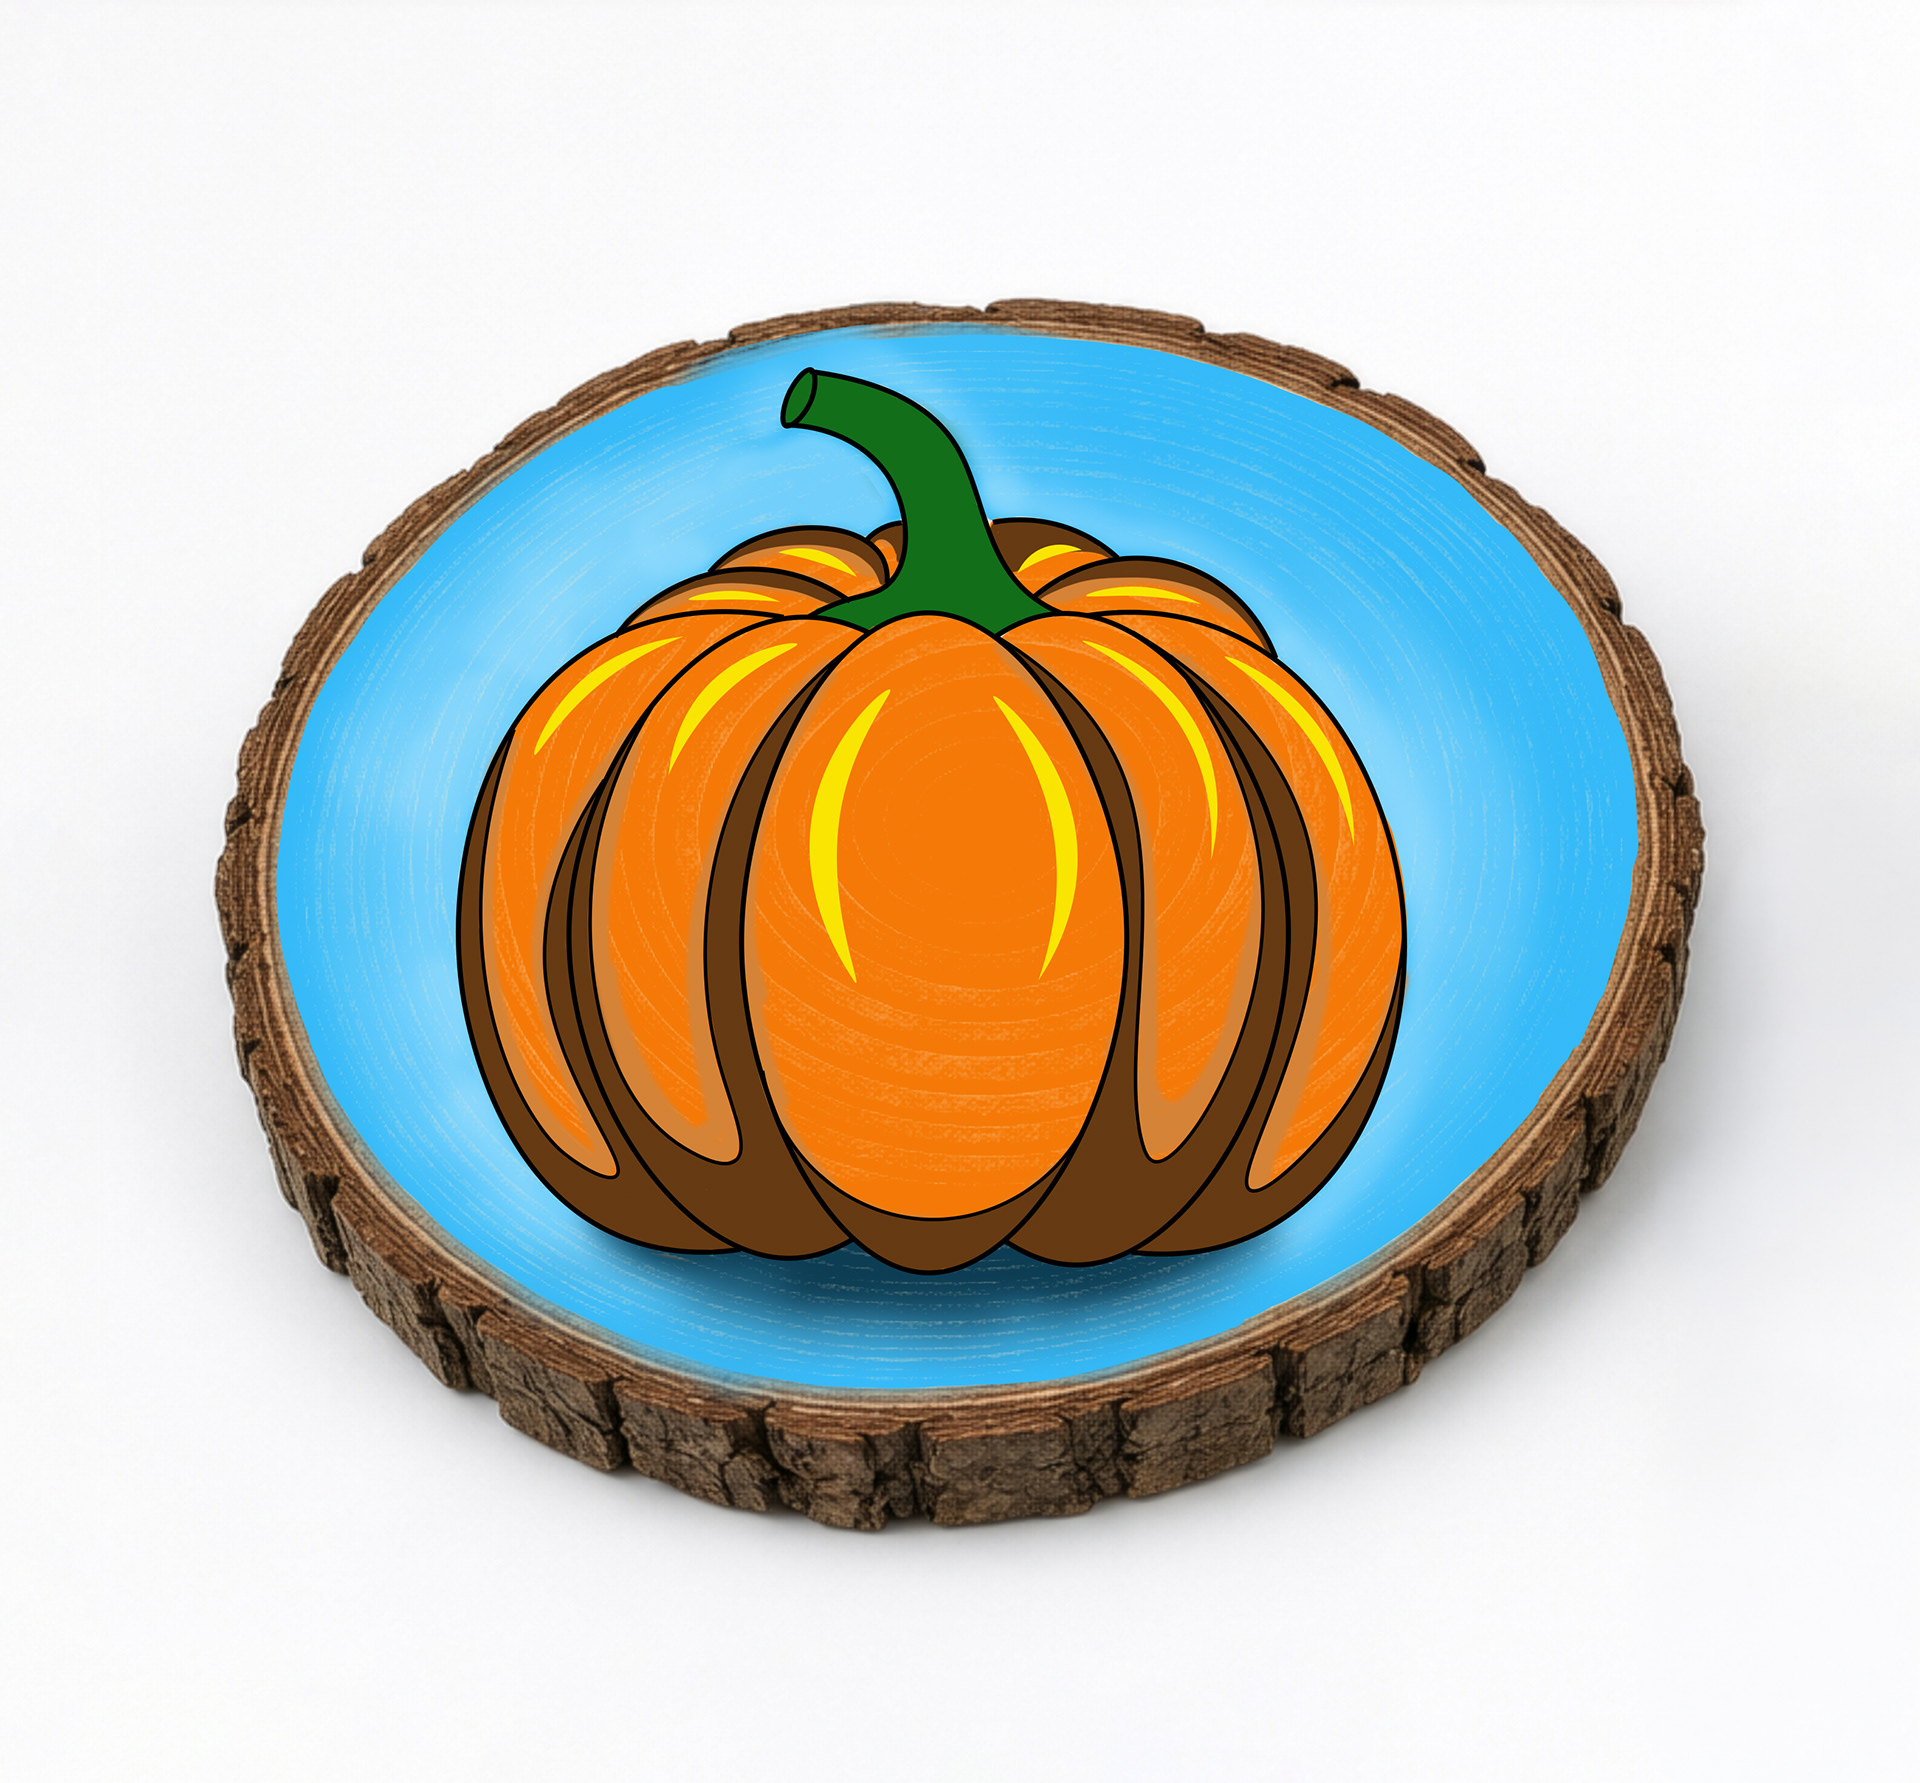
Mix Hooker’s Green and white color to create a brighter green color. Using it, paint inside the stem.
Step 9
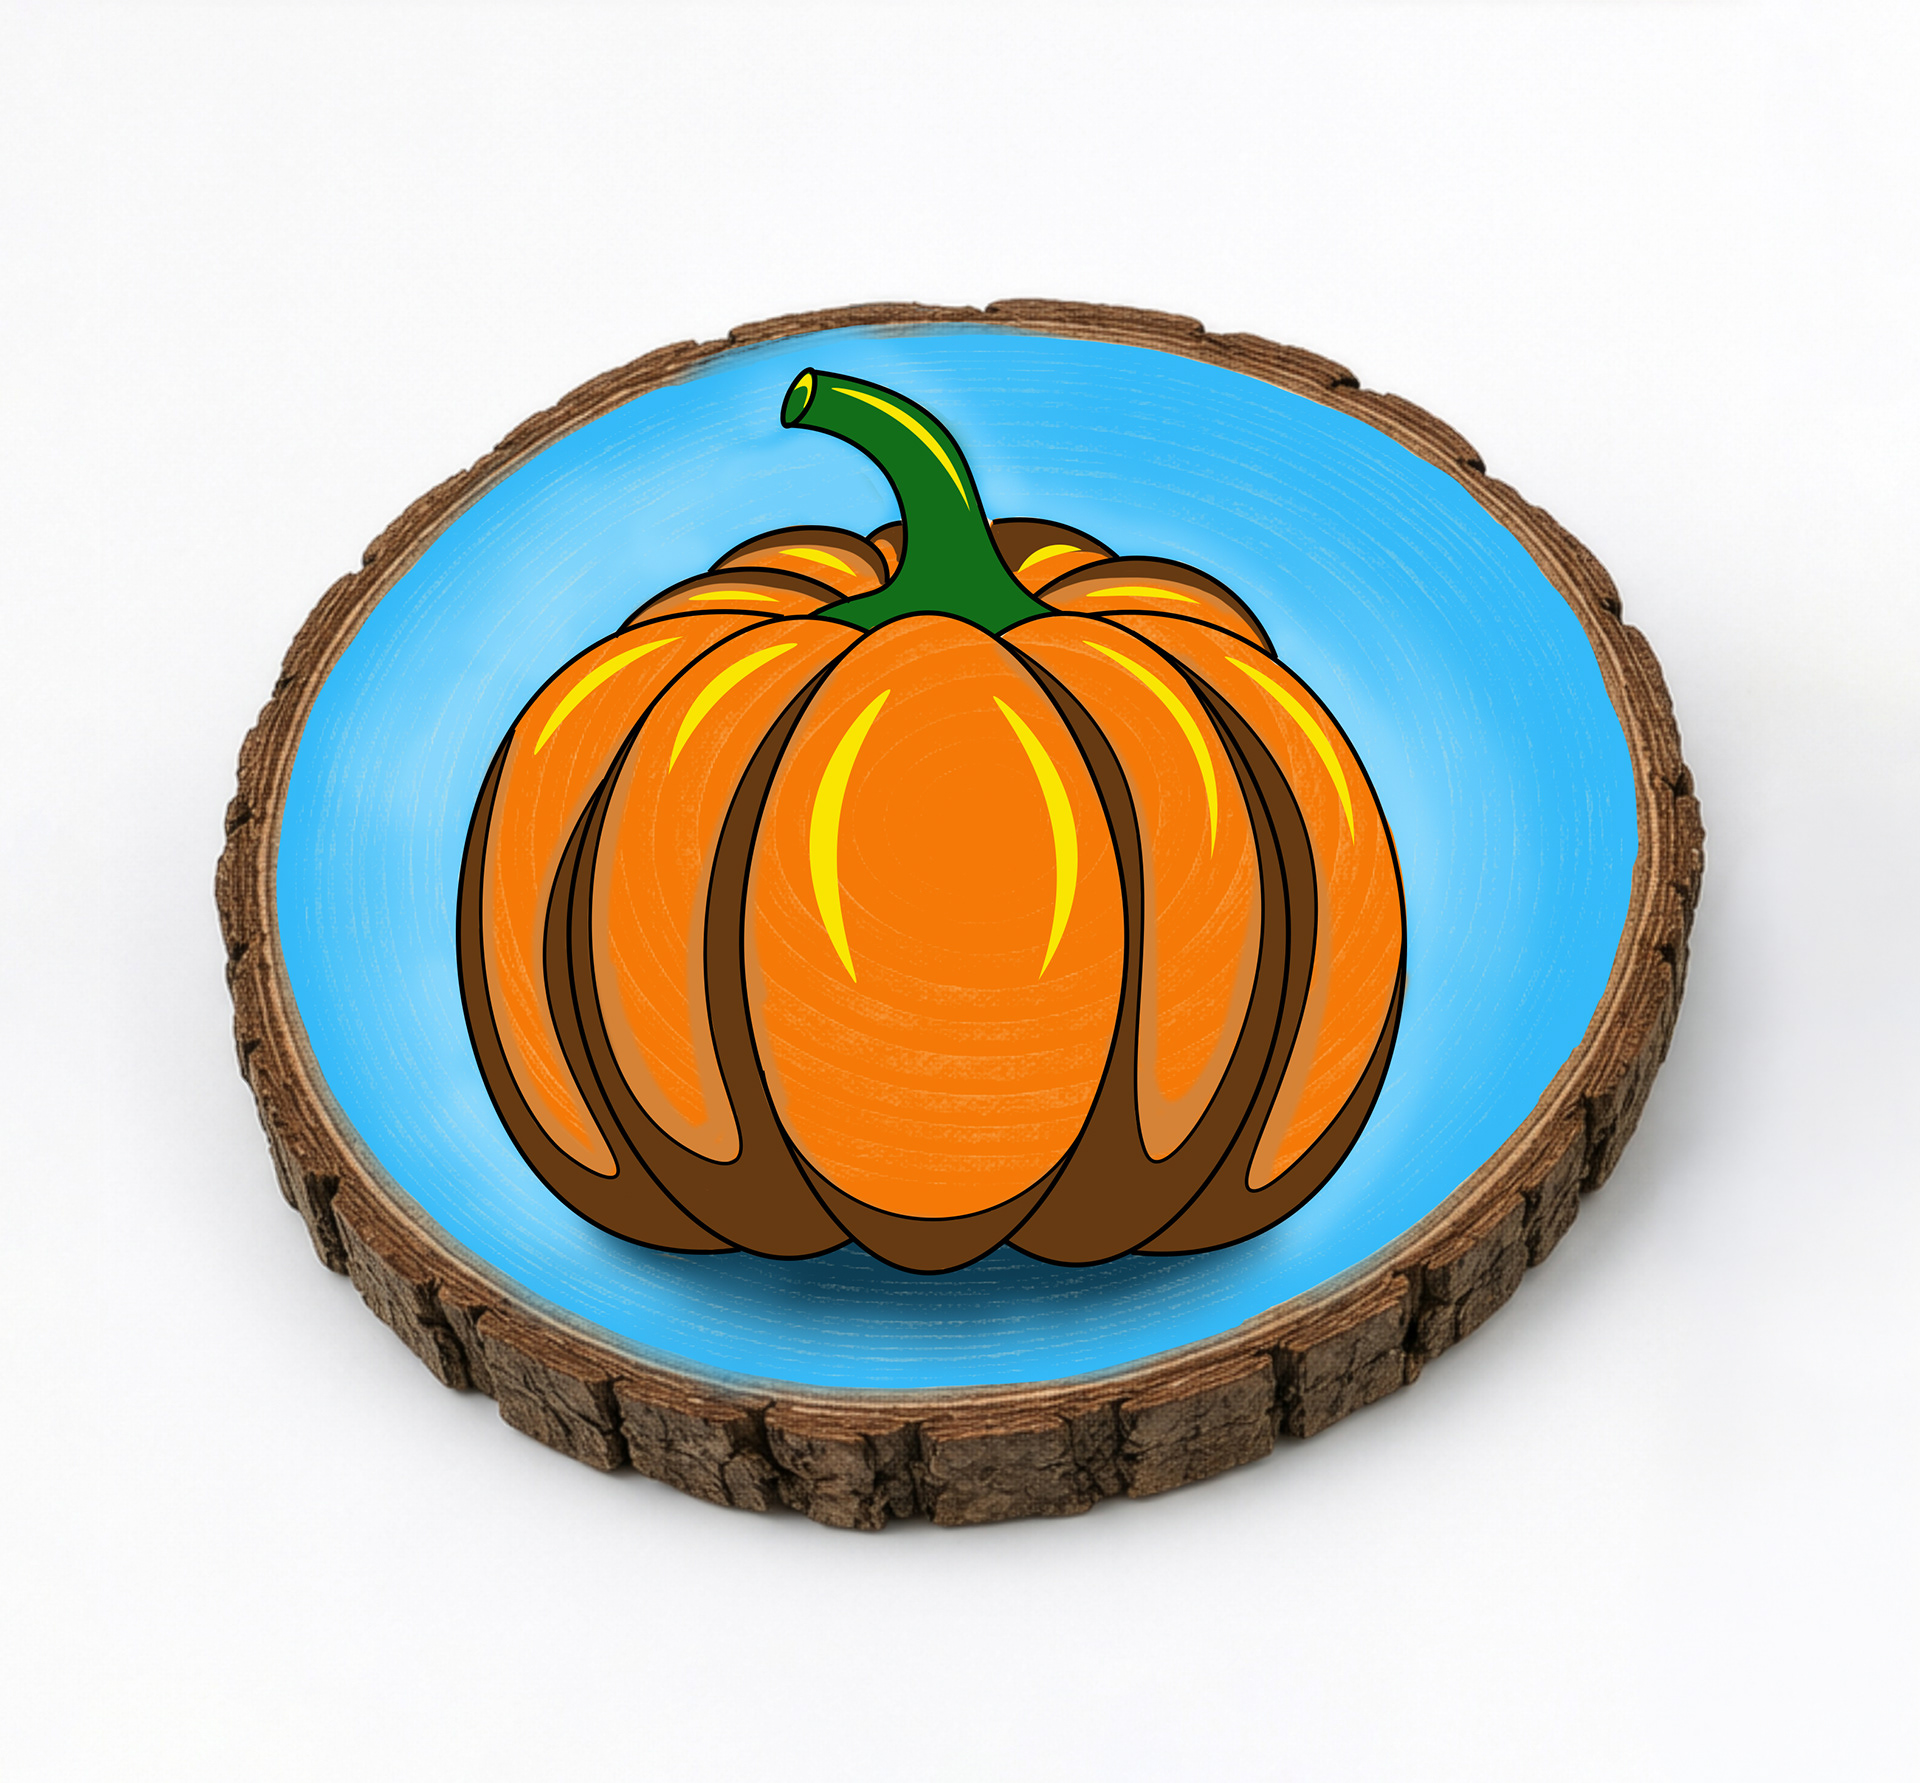
Using Lemon Yellow color, add a few highlights inside the green stem.
Step 10
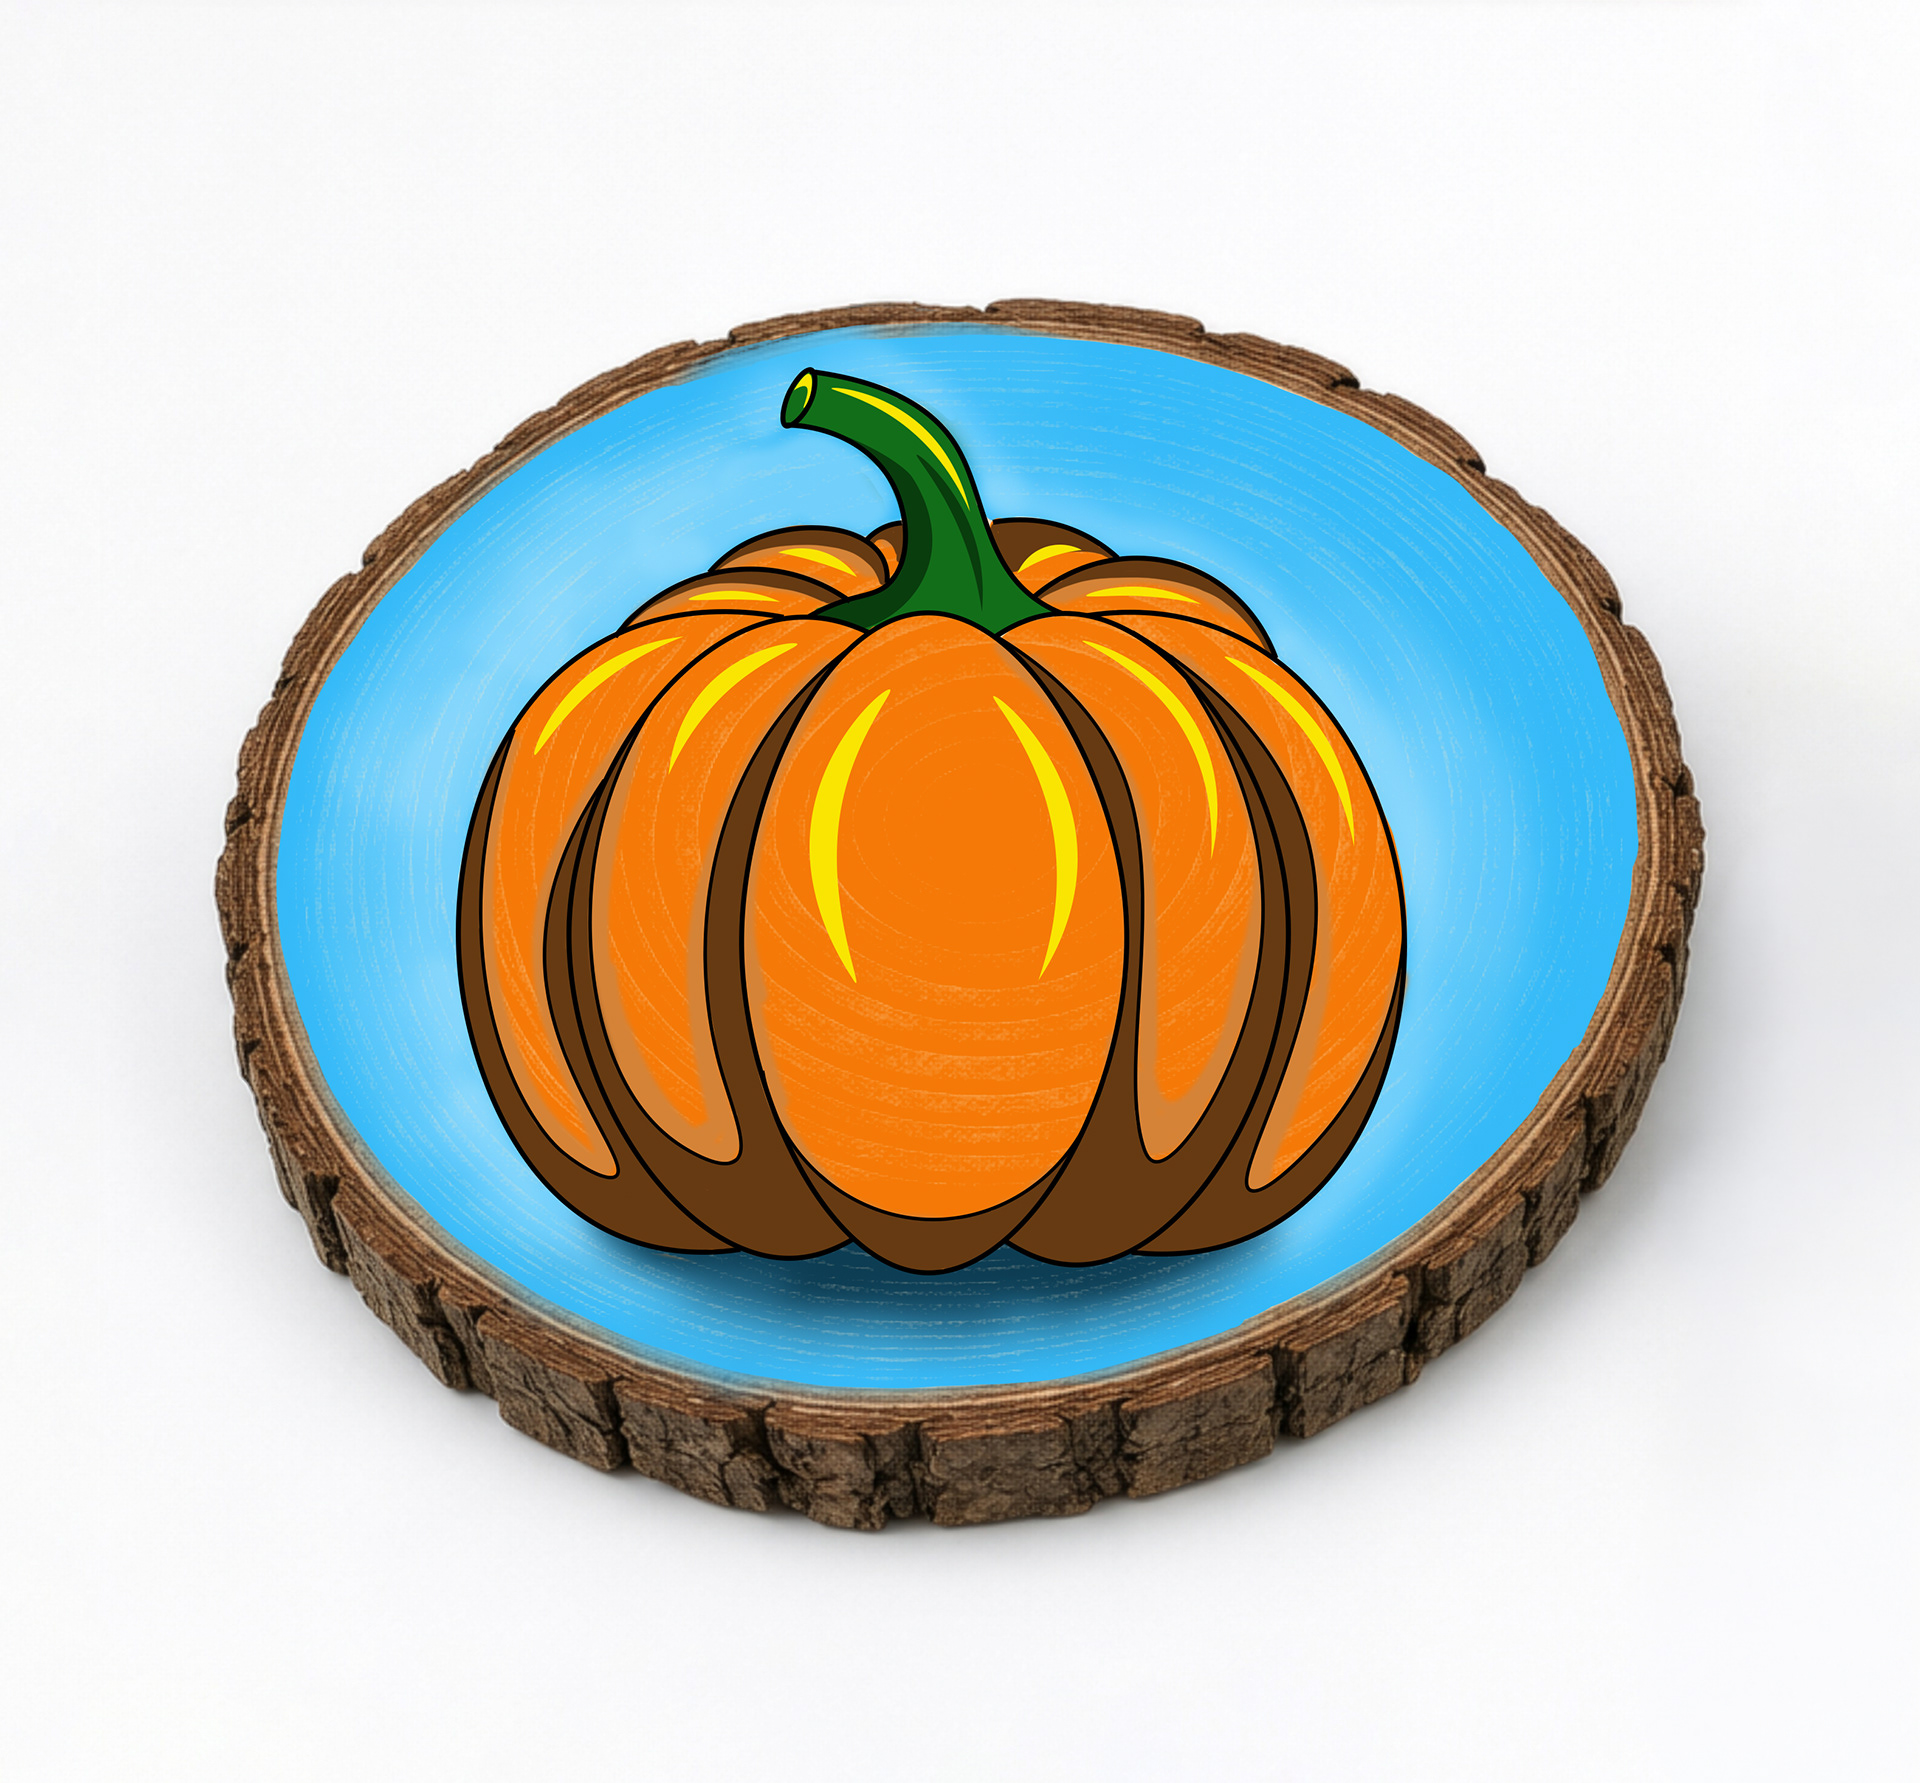
Using Hooker’s Green, add a few shadows inside the stem.
Step 11
Once your painting is completely dry, take your largest brush and apply a smooth coat of acrylic varnish. Allow this first coat to dry completely, and then apply a second coat. This final step will beautifully seal your wood slice and protect your gorgeous artwork for years to come!
Bring Home Your Creative Experience
The Imperfect Wood Slice Painting Kit — $39.99
Each kit is carefully curated and hand-packed right here in my studio to give you a premium, relaxing creative experience. You aren't just getting supplies; you are receiving a complete, step-by-step guided lesson designed to help you paint a beautiful autumn pumpkin on a natural, rustic wood slice. This price covers all of your materials—your real wood slice, palette, brushes, paints, and cup—along with the time, love, and professional design that goes into building this creative journey for you.
The Imperfect Wood Slice Painting Kit — $39.99
Each kit is carefully curated and hand-packed right here in my studio to give you a premium, relaxing creative experience. You aren't just getting supplies; you are receiving a complete, step-by-step guided lesson designed to help you paint a beautiful autumn pumpkin on a natural, rustic wood slice. This price covers all of your materials—your real wood slice, palette, brushes, paints, and cup—along with the time, love, and professional design that goes into building this creative journey for you.
A Transparent Note on Shipping
Flat-Rate Shipping: $21.00
Because this kit includes a real, solid wood slice and liquid acrylic paints, the package is significantly heavier and requires larger packaging than standard mail.
I want to be completely transparent with you: the $21.00 shipping fee is dictated entirely by the postal carriers based on the weight and dimensions of the box. While I would love to make shipping cheaper, these carrier rates are strictly out of my control. I do not make any profit on shipping, and every cent goes directly toward ensuring your supplies arrive safely at your door.
Thank you so much for understanding, and for choosing to support a small, independent art studio!
How to Purchase
I want to make checking out as easy and comfortable for you as possible. You have two options to grab your kit: you can purchase it directly from me right here using PayPal.
I want to make checking out as easy and comfortable for you as possible. You have two options to grab your kit: you can purchase it directly from me right here using PayPal.